Background videos are often used as dynamic design elements in Next.js applications, but there's a problem: they're not performant.
Before you throw them into a <video> element, they need to be optimized for streaming and converting into different sizes — among many other considerations.
How can you use a background video in Next.js and make sure your site loads quickly?
In this article, we're going to take a look at how you can build a simple looping background video into your Next.js website and how Mux takes care of processing and hosting the videos for you so you can concentrate on shipping a great site.
Here’s a demo of the final result.
Pre-requisites
- A Mux account
- A video to test with (Pexels has some great free videos)
- A Next.js project to work in
If you don’t have a Next.js project ready to go, you can set up a fresh one locally:
npx create-next-app@latest1. Install and set up next-video
There’s a few ways you can get video into Mux: our API will let you programmatically create assets, your users could upload files directly with direct uploads, or you could upload them from your dev environment using our shiny new library called next-video.
If you have already used next/image to embed images into your Next.js site, next-video will feel very familiar and will help you:
- Upload files into Mux from your local machine
- Make it easy to embed videos into your site with a modern video player
- Use your local video files as a fallback while your videos upload
Install the package
npm install next-videoOr
yarn add next-videoNow we’ll initialize the package and let it set up some defaults for us. It will ask you to confirm some details while it does this:
npx next-video initYou’ll now have a new folder in your project called /videos.
The last thing to do is add your Mux credentials to your environment variables so that next-video knows which account owns these videos. Mux uses access tokens for API authentication.
Create an access token by logging in to the Mux dashboard and visiting Settings -> Access Tokens in the sidebar. Click ‘Generate New Token’. At a minimum, we’ll need to give it Mux Video permissions.
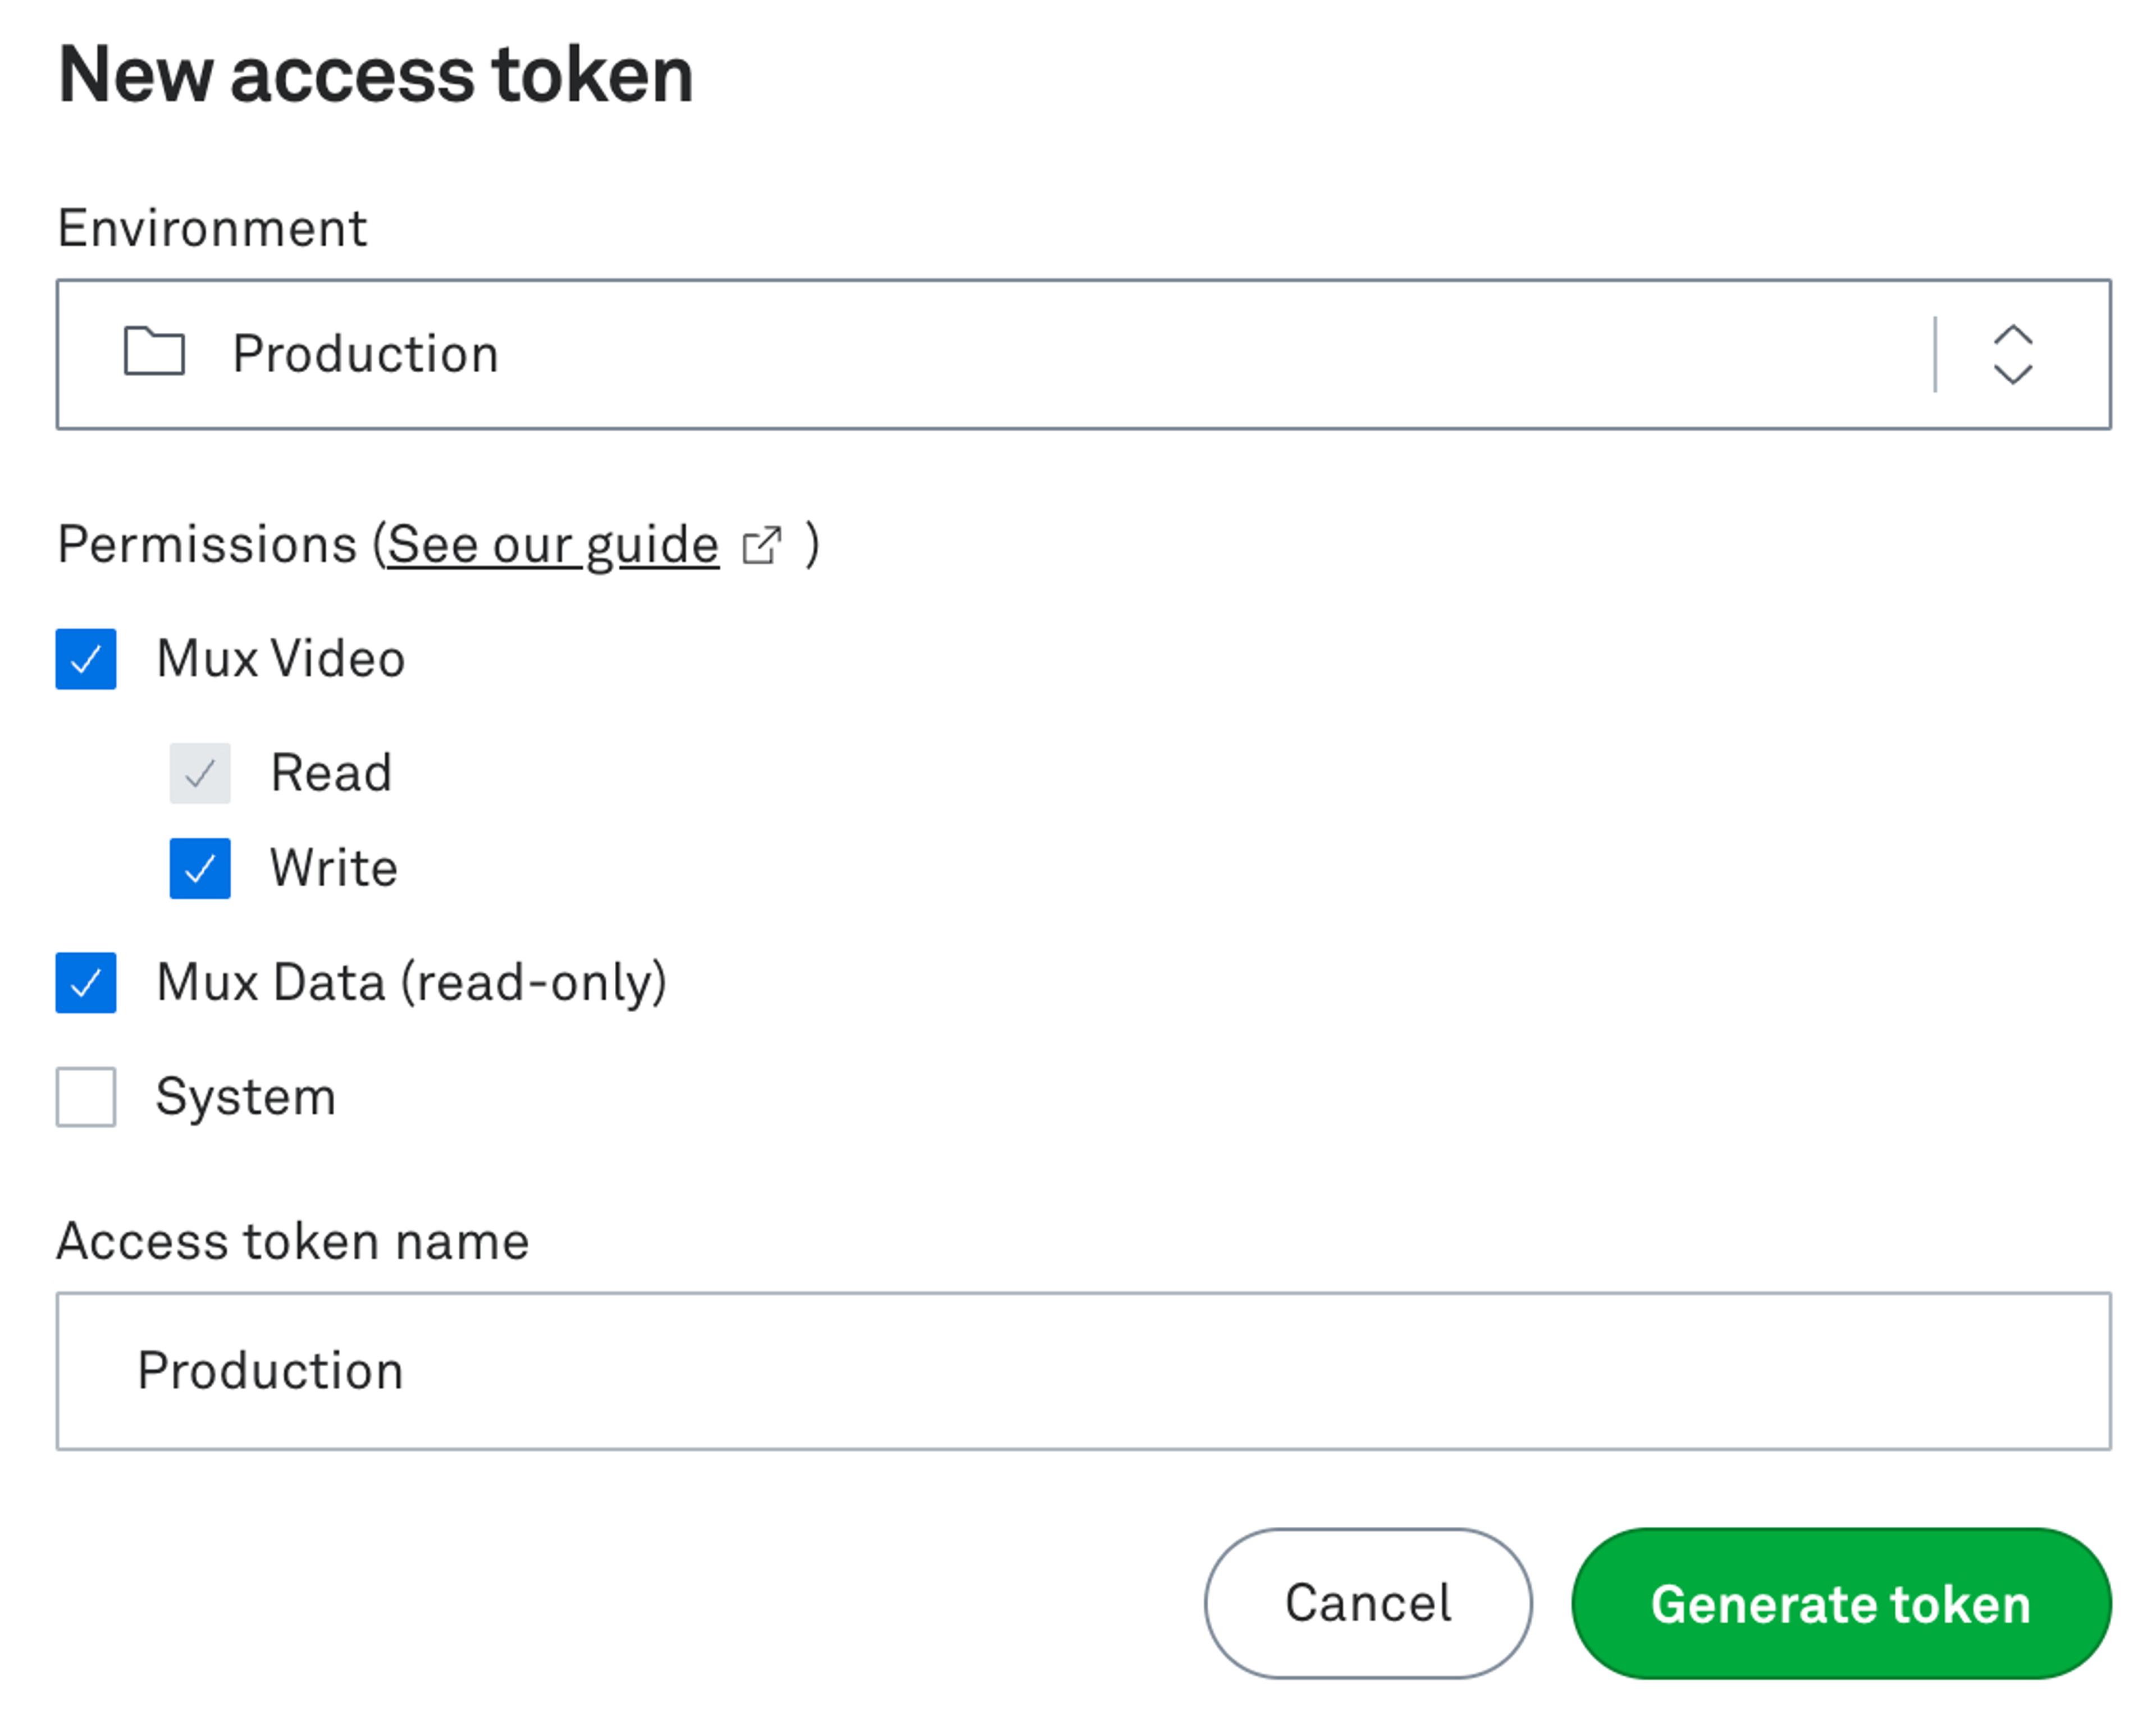
Store the resulting token details somewhere safe and add them to your project’s .env.local file (or create one if you don’t have one).
MUX_TOKEN_ID=YOUR_TOKEN_ID
MUX_TOKEN_SECRET=YOUR_TOKEN_SECRET2. Upload your background video
Copy your video file into your project’s `/videos` directory and run the following in the terminal:
npx next-video syncYour video will be uploaded to your Mux account and some of the video’s meta information will be saved into a JSON file alongside the original file. You’ll commit these JSON files into your repository.
You should now see the uploaded video in your Mux Dashboard under Video -> Assets.
3. Add the background video to your page
In one of your pages, import your video and embed it using the next-video Video element:
import styles from './page.module.css'
import Video from 'next-video';
import videoLoop from '/videos/bg.mp4'; // use your video file name

export default function Home() {
  return (
    <main>
      <Video
        src={videoLoop}
        autoPlay
        muted
        loop
        playsInline
        controls={false}
        className={styles.video}
      ></Video>
      <h1 className={styles.title}>My awesome background video</h1>
    </main>
  )
}
Our CSS file `page.module.css` will look like this:
.video {
  width: 100%;
  height: 100vh;
  --media-object-fit: cover;
}

.title {
  font-family: Helvetica, Arial, sans-serif;
  font-size: 34px;
  position: absolute;
  left: 0;
  bottom: 0;
  width: 100%;
  padding: 100px 50px 50px;
  color: #fff;
  background: linear-gradient(to top, #000, rgba(0, 0, 0, 0));
}
We've styled our elements with CSS Modules, but you can use any of the supported styling methods in Next.js, like Tailwind or Styled Components.
You might notice we've used a CSS variable — --media-object-fit — instead of the native CSS object-fit property. Our special <Video> component is wrapping the native <video> element, and we want this style to be applied to the underlying <video> element itself. Luckily, this CSS property is exposed via a handy CSS variable that will be applied to the video element for us.
4. Experiment
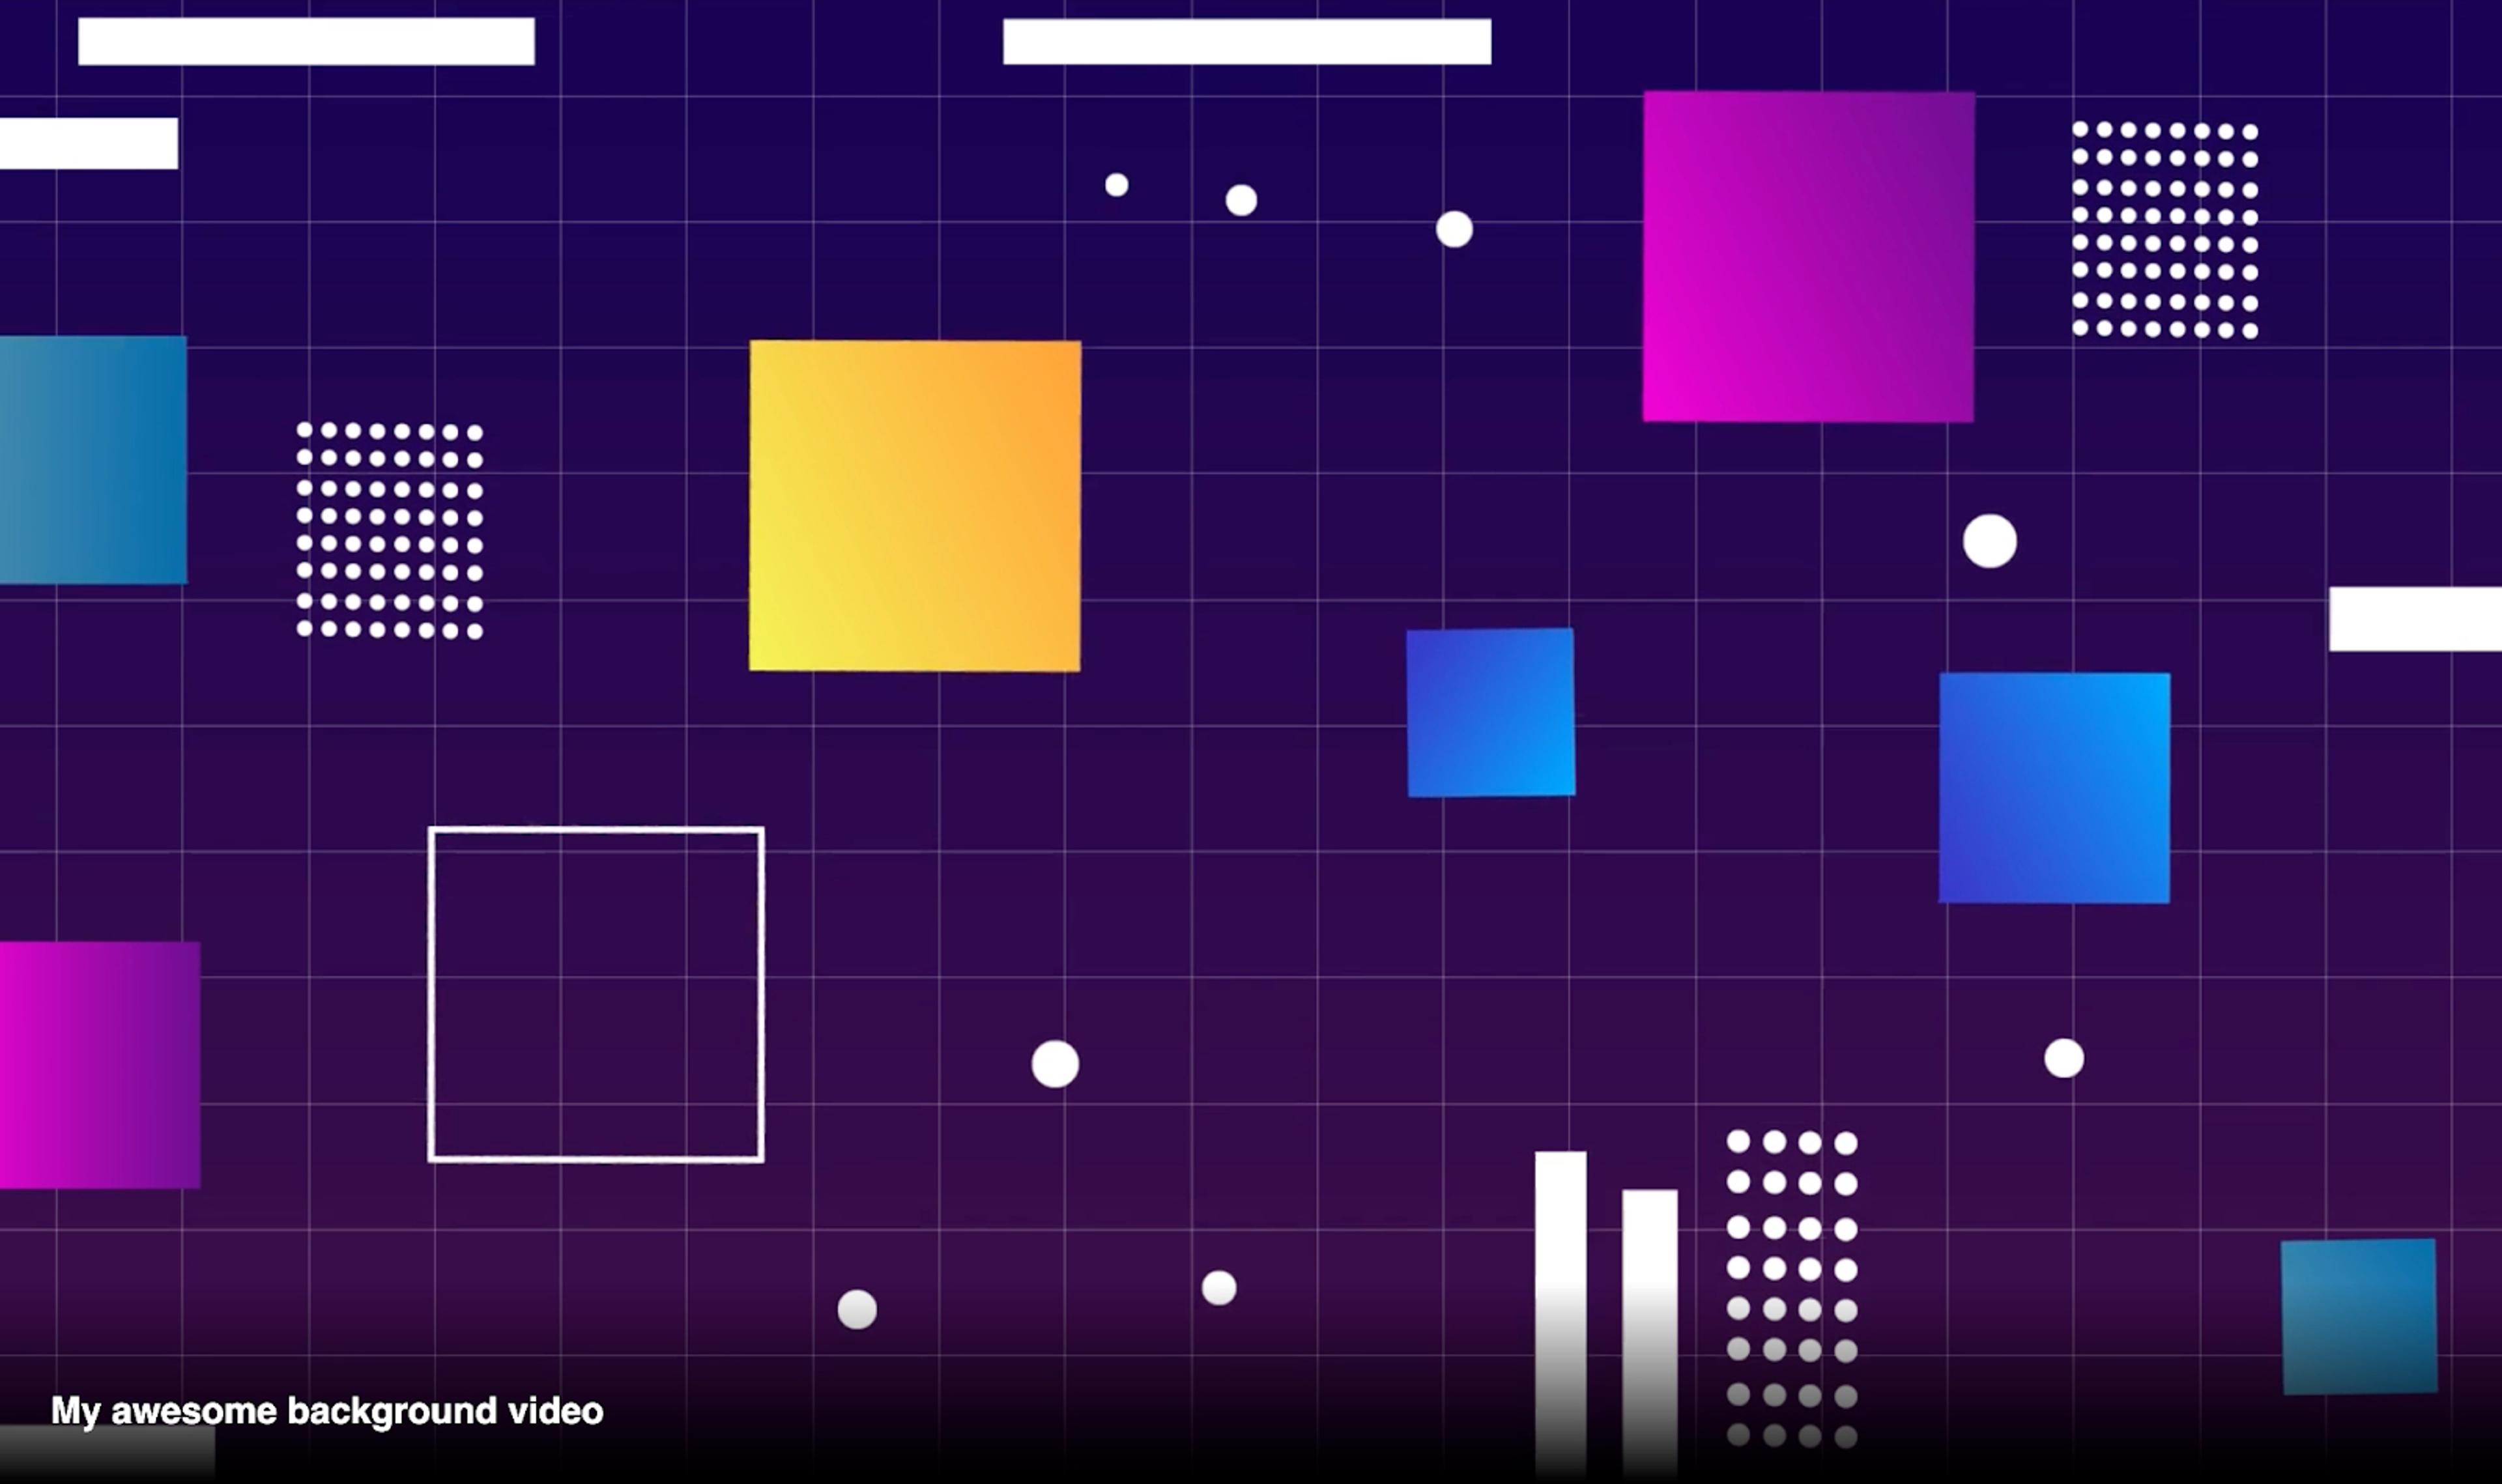
That's it for a basic full-sized looping video — check out the final result.
You should be able to view your page in the browser using the Next.js dev mode npm run dev. Deploy your project the same way you normally would.
We’ve uploaded our video to Mux using the new next-video package and have used its built-in player to embed the video into our page. There’s a few things you could do to take it to the next level, though:
- Animate the elements on top of the video into view when you scroll to this section (the Intersection Observer API could be helpful here)
- Add some depth with some parallax effects
- Change the video being played based on how people interact with the content around it
- Experiment with different types of video content to see which ones people engage with the most
If you’re interested in finding out more about next-video, check out our website https://next-video.dev and keep an eye out for future releases.