We think data is important. So important, in fact, that our company began with Mux Data — a way for developers to leverage better data and observability tools for video. One reason we did this is because data on the 'nets is often overwhelming, convoluted, and in formats that are just too difficult to digest and act upon.
Mux Data was built to help solve this challenge. And when you pair Mux with other powerful tools, like Google BigQuery and Looker, it's even easier to synthesize and visualize data related to our products, whether it be a blog, podcast, or video. In turn, you can use this data to make better decisions by responding quickly to real-time events, iterating on marketing efforts and product features, focusing on certain funnels, and cutting costs (whether time or dollars) where return on investment (ROI) is not as promising.
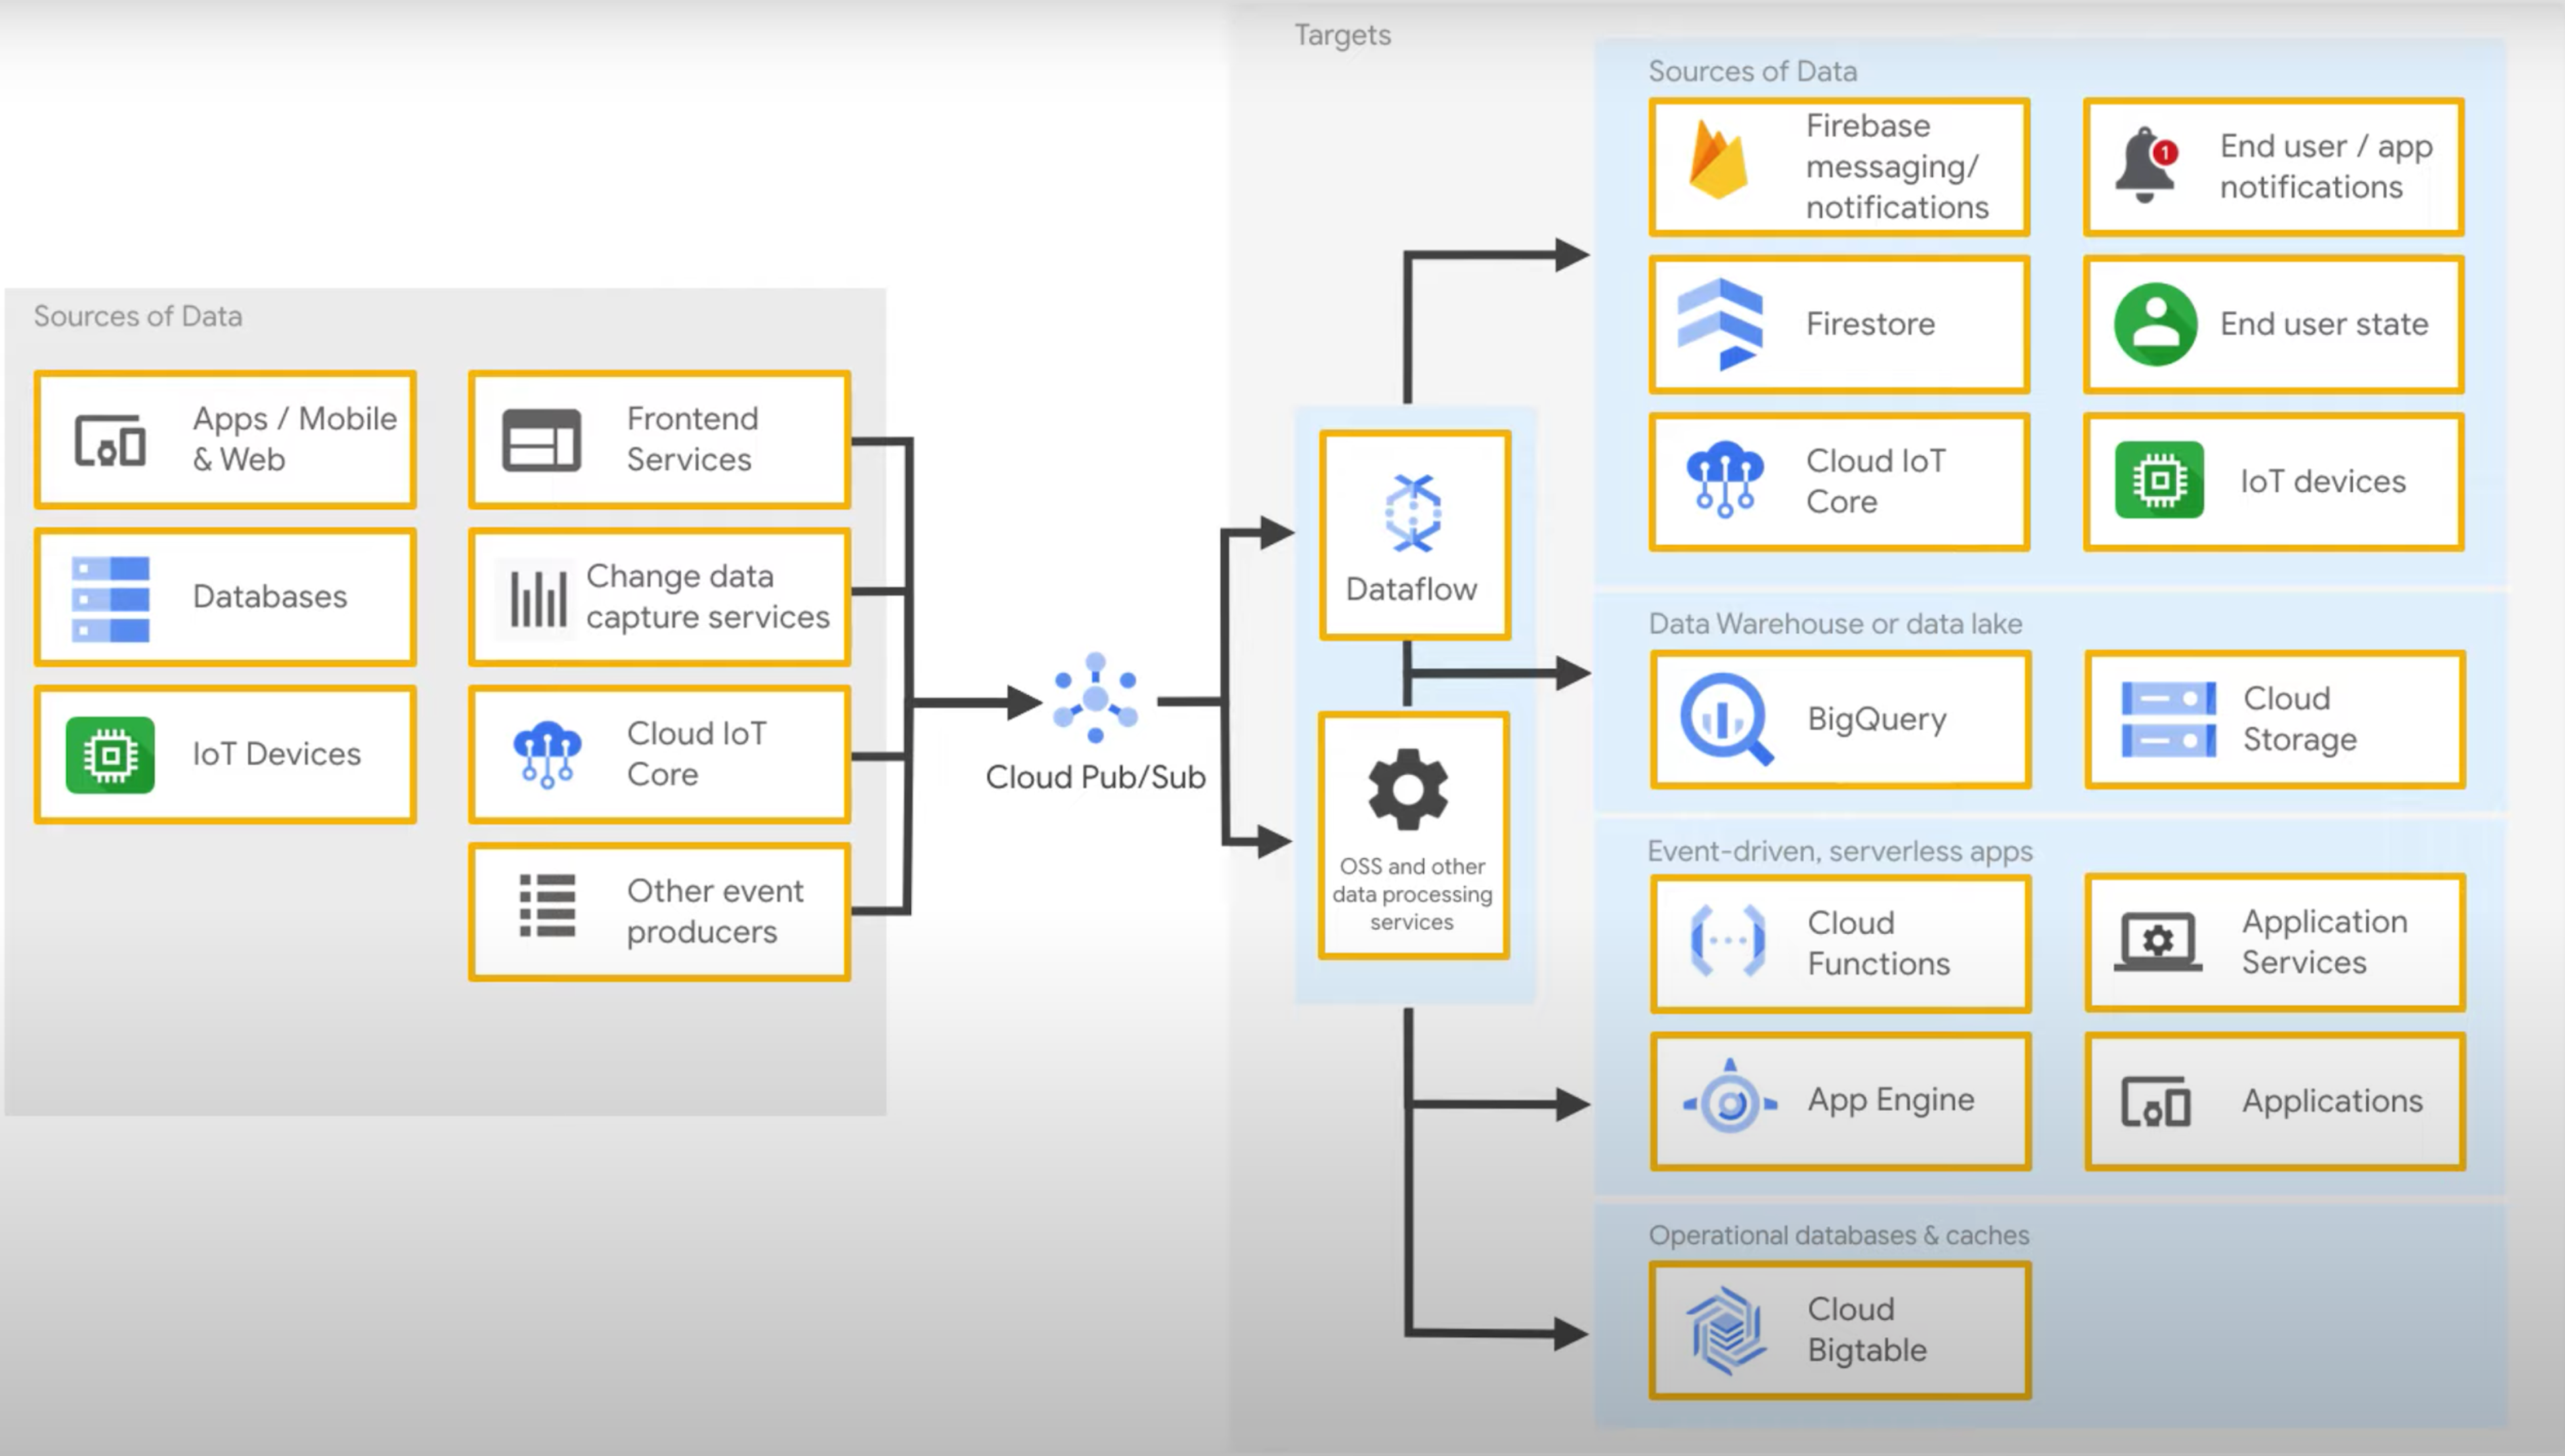
However, occasionally you may crave a level of customization and granularity that even the above tools can’t provide out of the box. This level of customization requires a robust and scalable system to ingest and distribute data. One such system is Google Pub/Sub.
What is Google Pub/Sub?
Pub/Sub is one of Google’s Cloud products. It allows you to manage large amounts of data — such as real-time video analytics — coming in and out of your system asynchronously between several services without them ever having to know about each other.
Let’s say you are building a live event platform that integrates Mux Video, Mux Data, a ticketing service, a messaging service, and a shipping service (swag for attendees!). Pub/Sub will act as your data handler. In this type of multipart system, each part only needs to send data to Pub/Sub and never directly to each other — even on failures.
Systems Overview: Mux Data and Google Pub/Sub
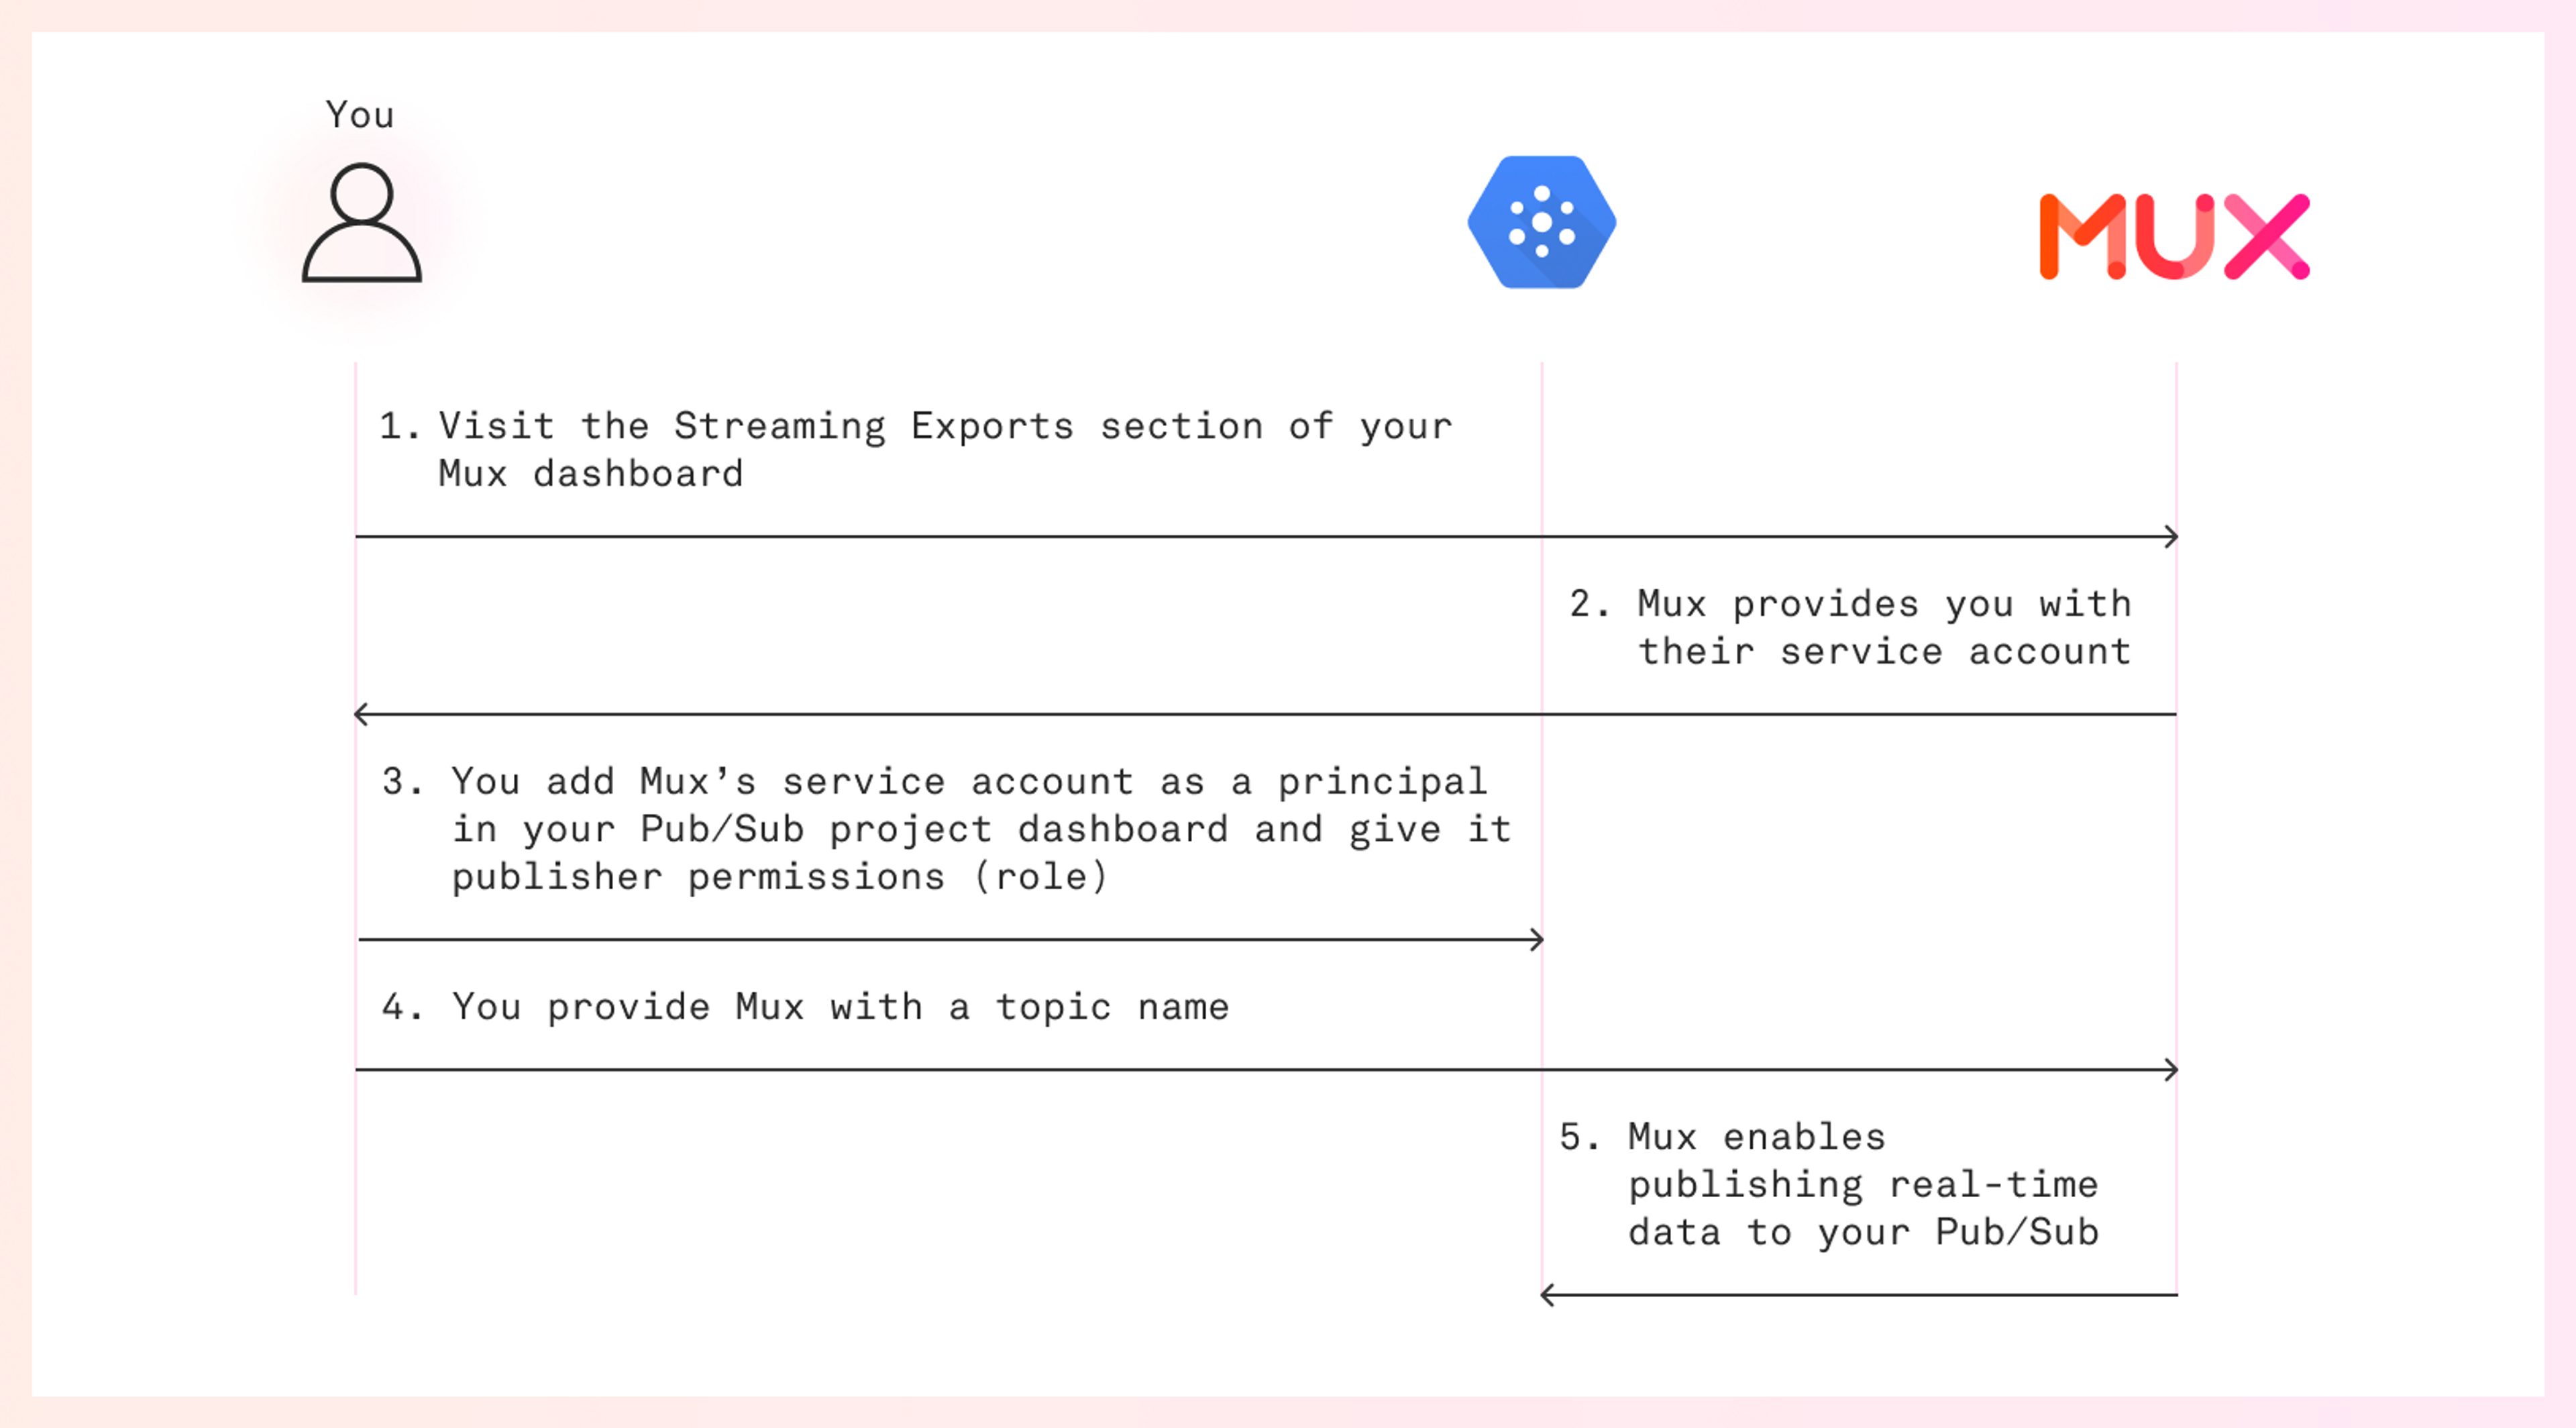
- Visit the Streaming Exports section of your Mux dashboard
- Mux provides you with their service account
- You set up new principals for each service account in your Pub/Sub project dashboard and give Mux publisher permissions (role) so Mux can push data to Pub/Sub
- You provide Mux a topic name
- Mux enables publishing real-time data to your Pub/Sub
Prerequisites
- Mux account
- Google Cloud account (free usage up to limit)
- At this time, the Pub/Sub integration is only available to customers on the Mux media plan
Create a new streaming export
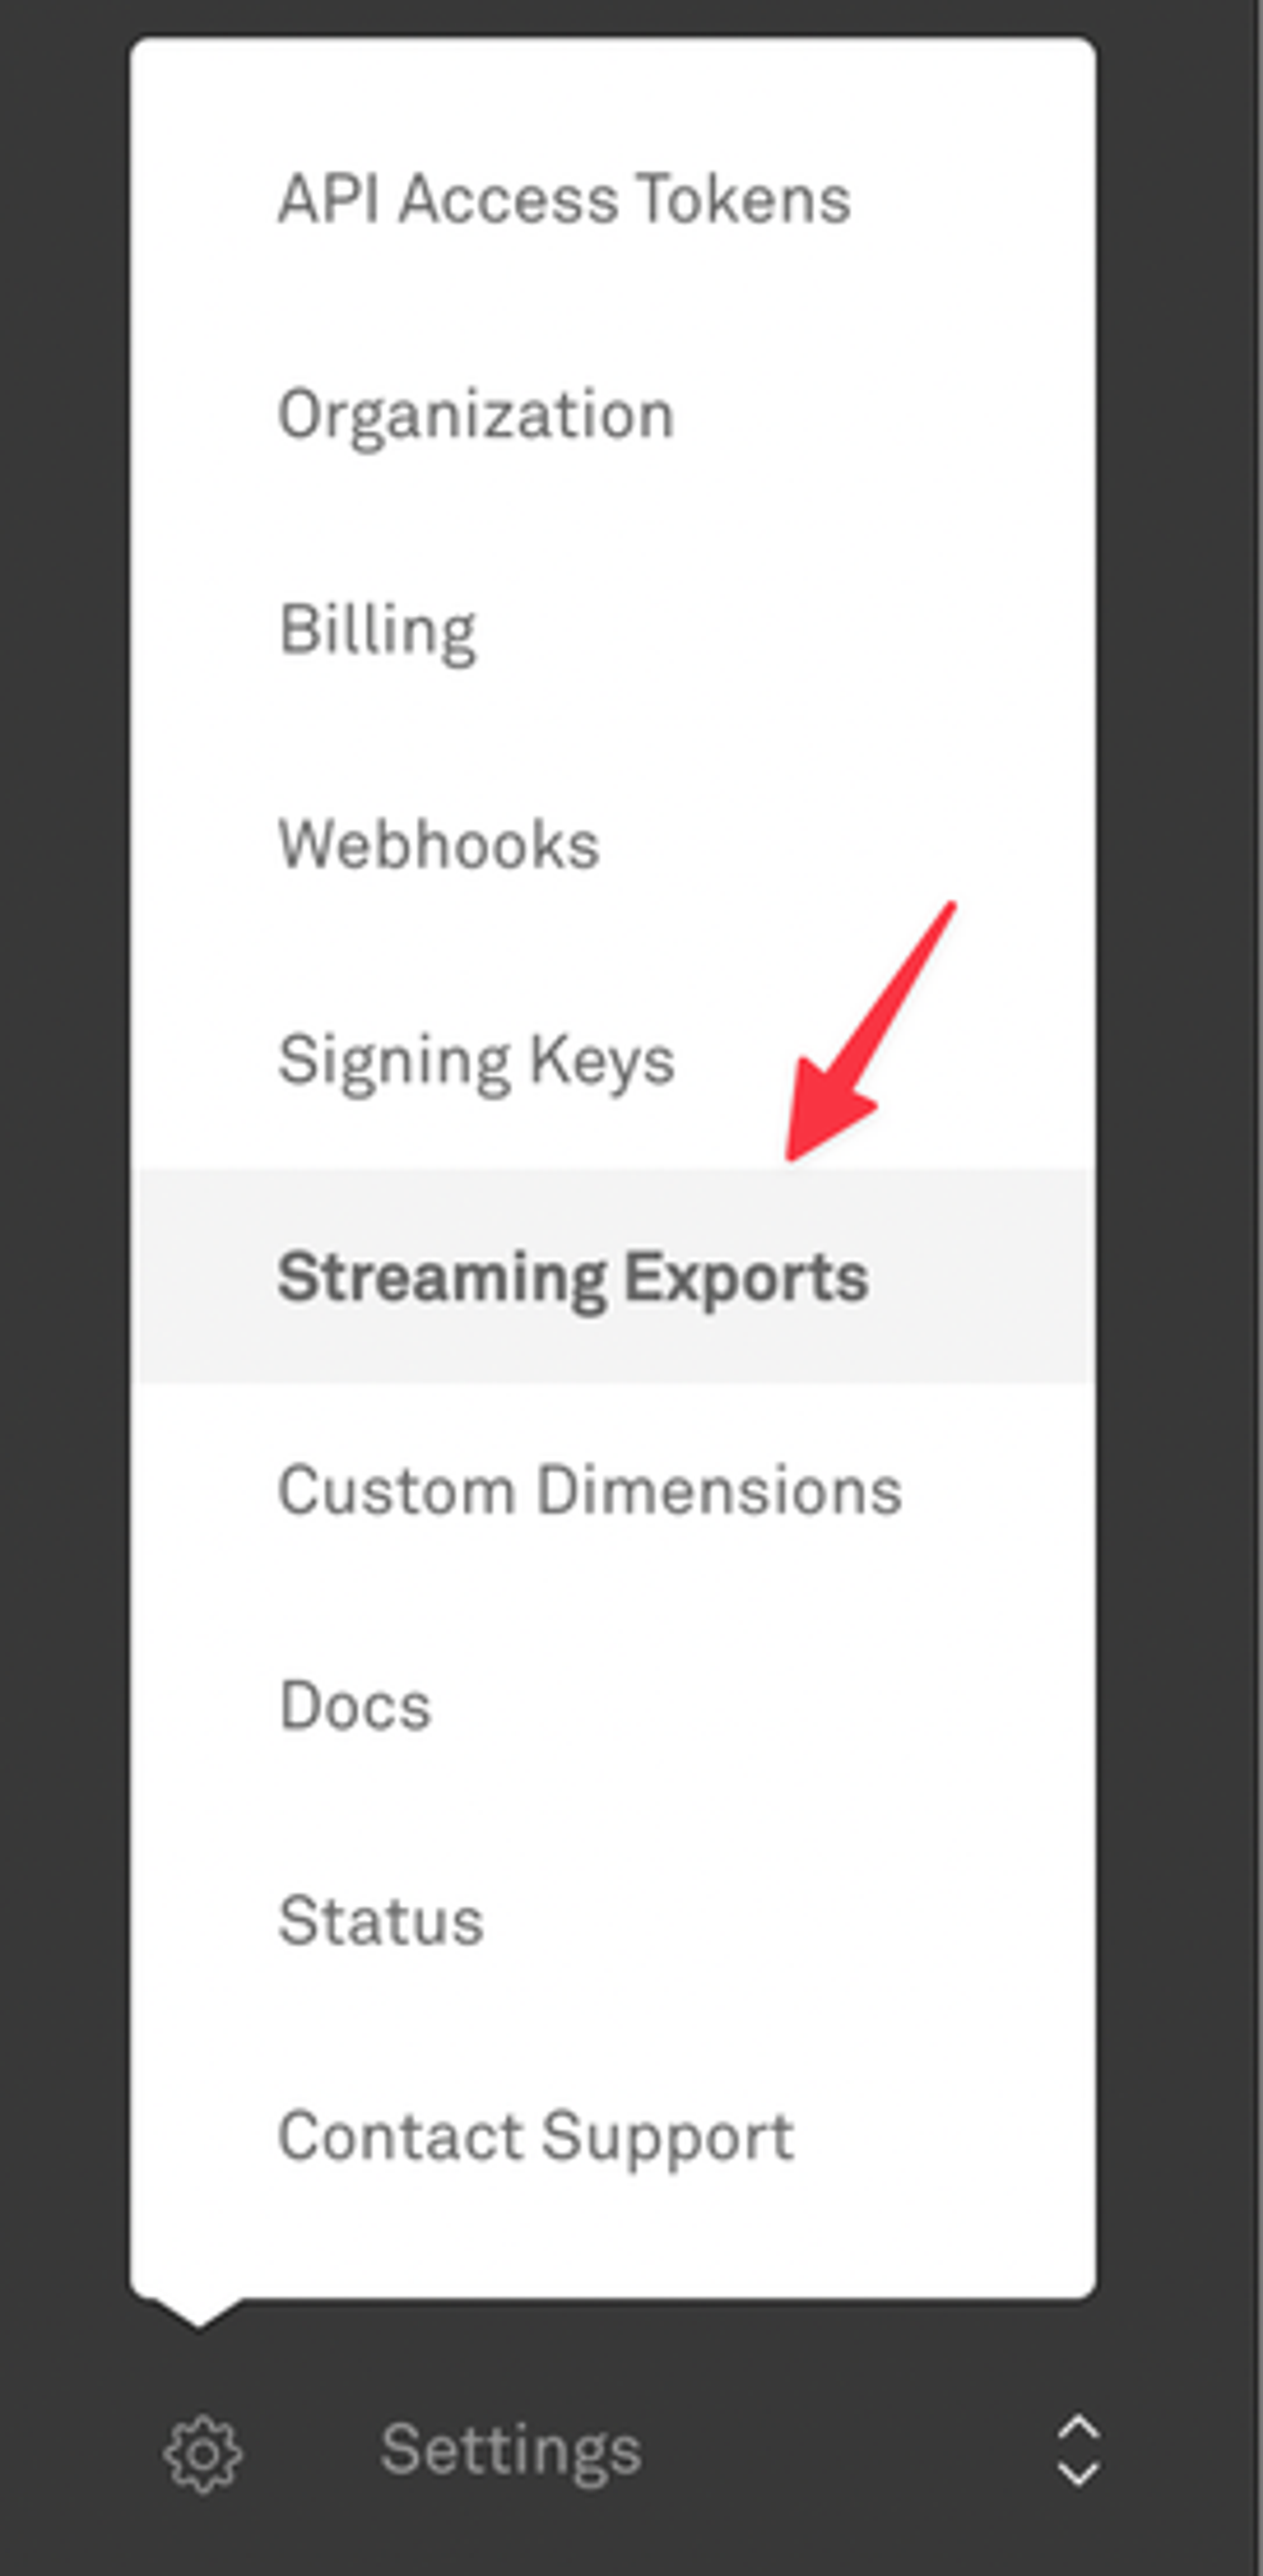
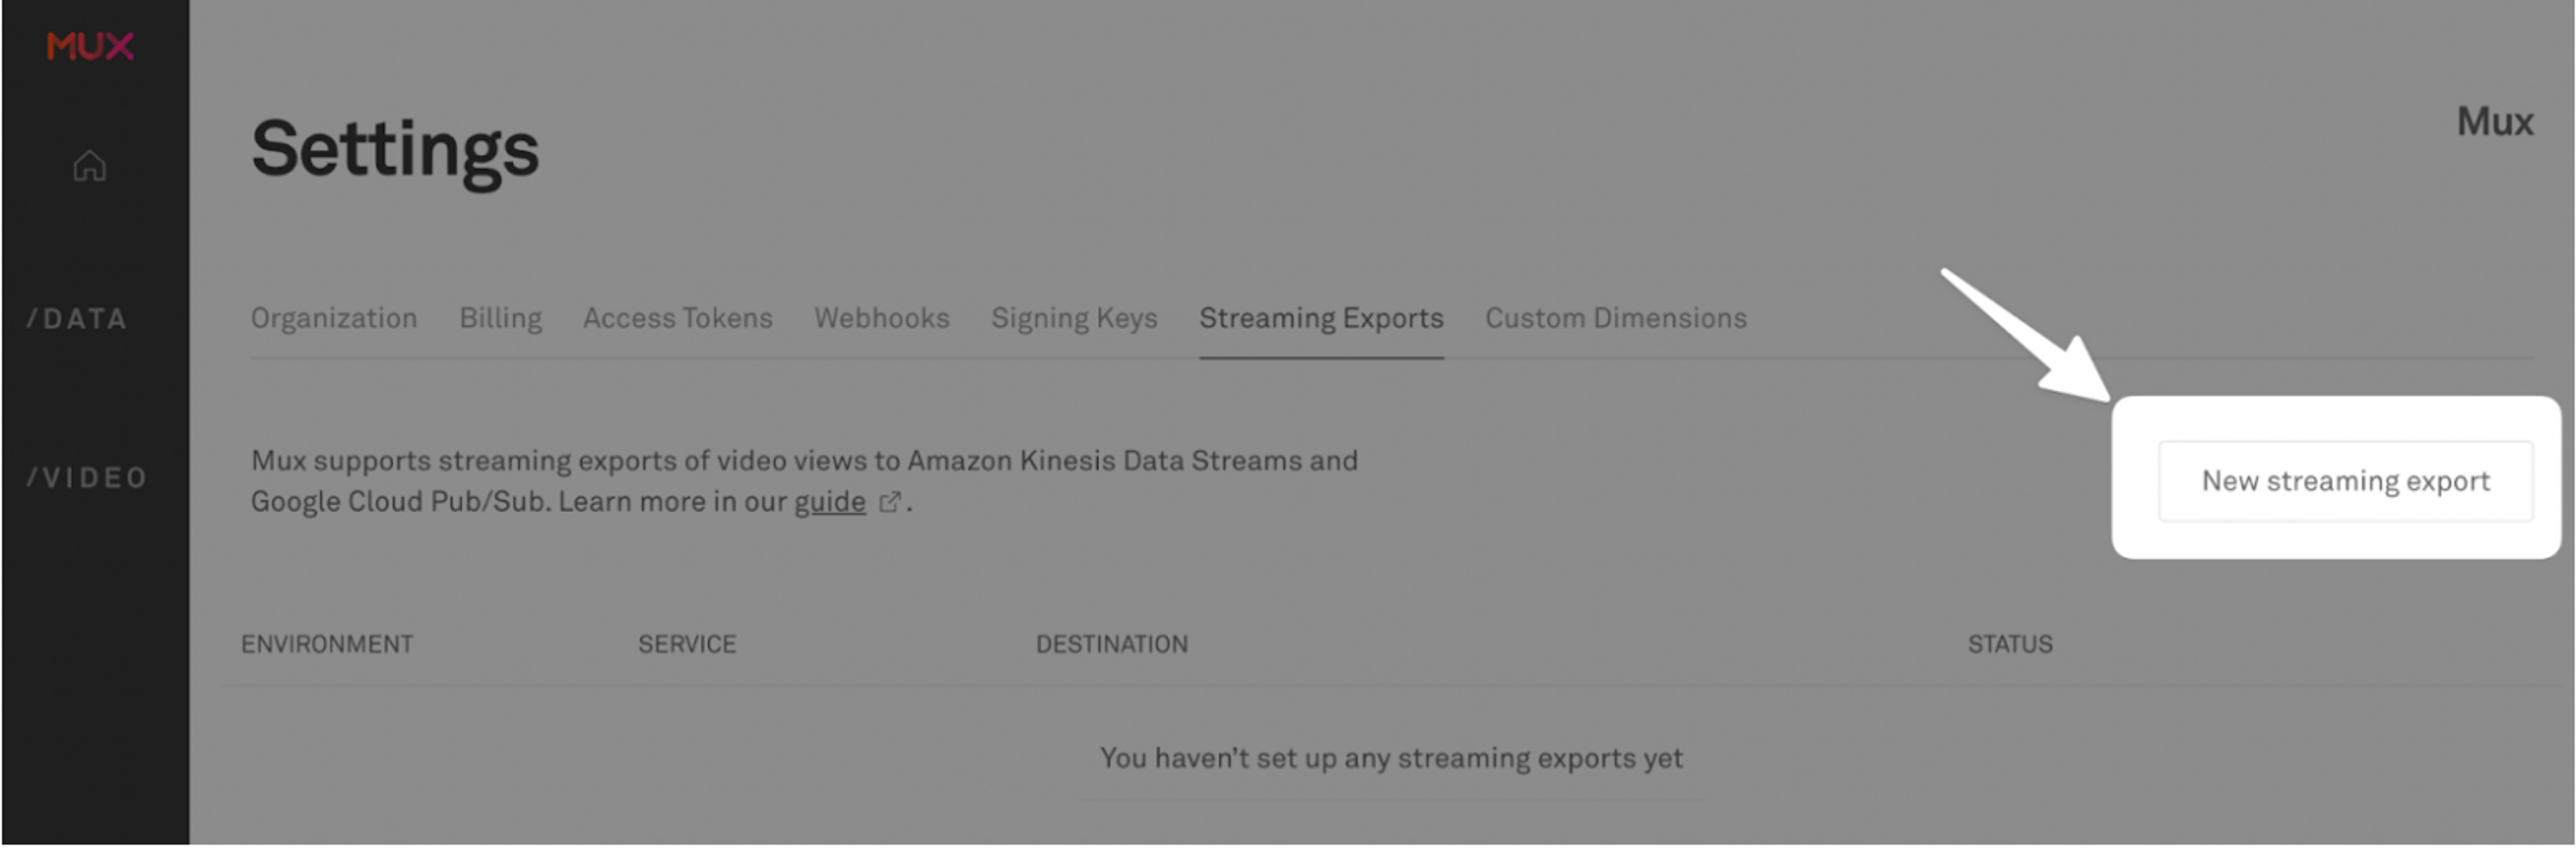
To begin the process, navigate to the Streaming Exports from the left-hand menu. This will take you to the settings of your Mux dashboard. Click on "New streaming export".
You'll be prompted with the setting necessary to configure and enable your streaming exports integration with Pub/Sub:
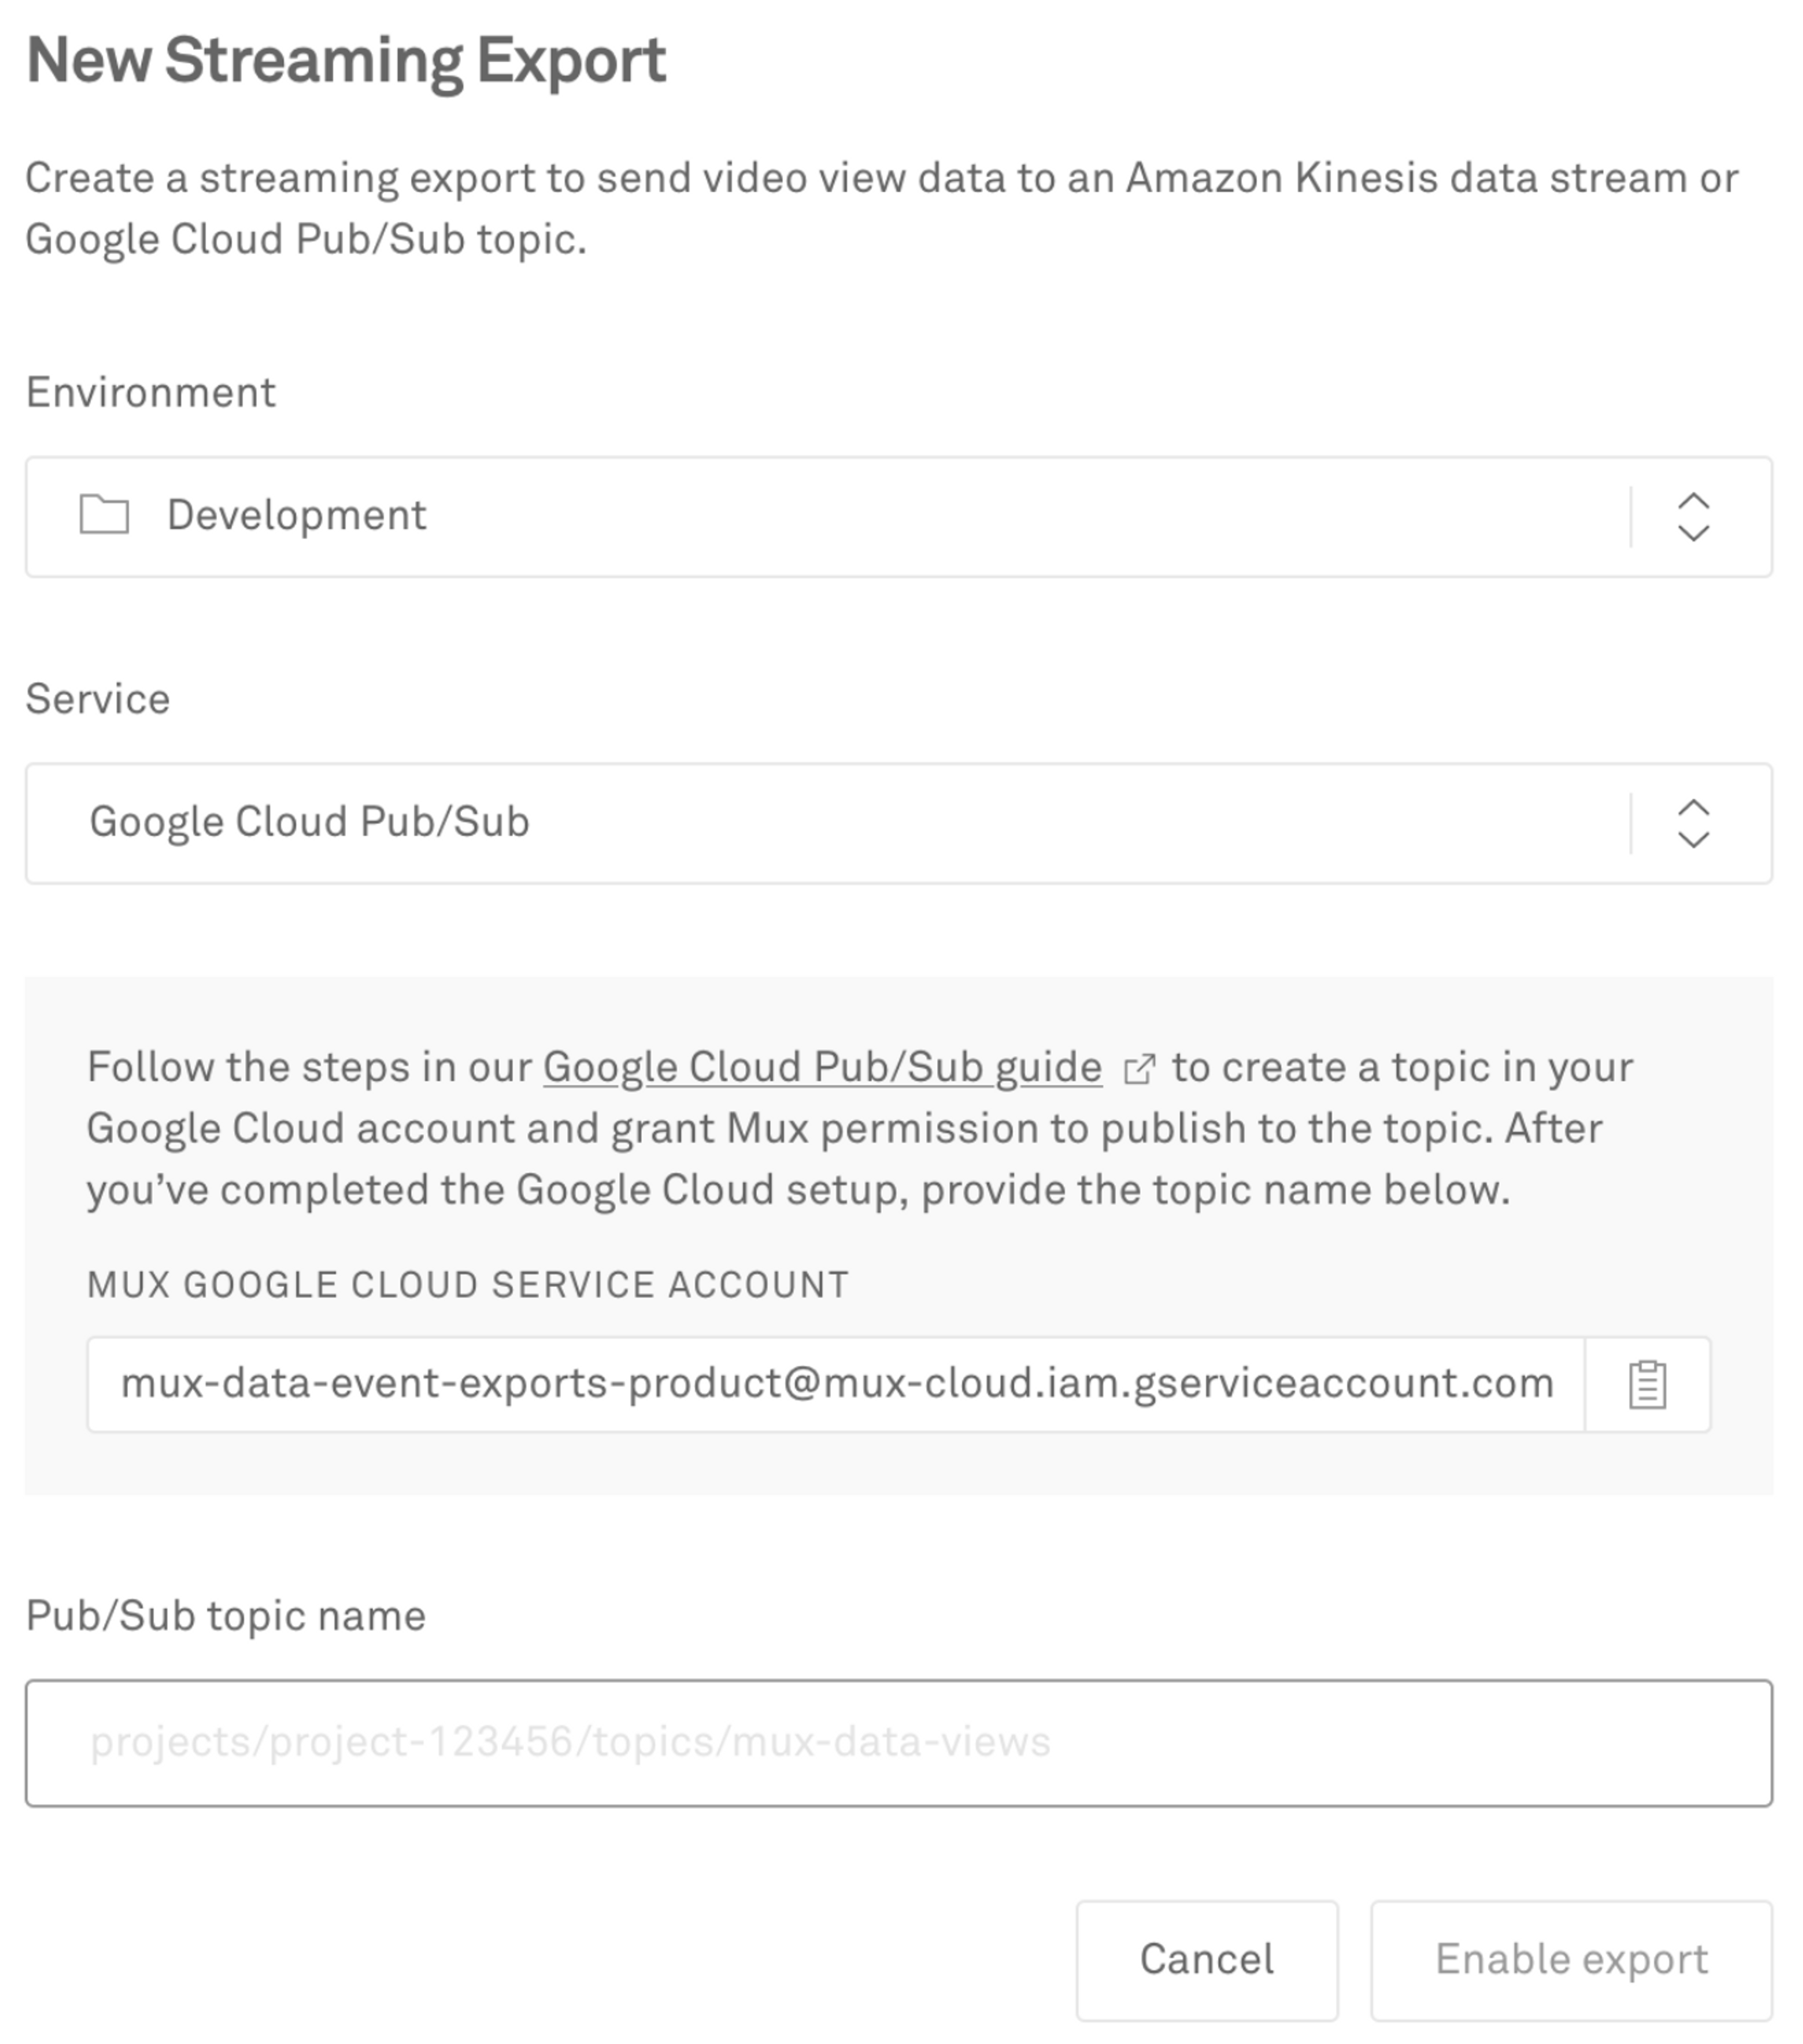
- Select the Mux Environment that you want to stream your data from
- For Service, select Google Cloud Pub/Sub
- Copy the Mux Google Cloud Service Account that is displayed
This is Mux's relevant service account. Service accounts are email addresses that refer to a non-human user, such as an application or a virtual machine.
Service accounts can be thought of as both an identity and a resource.
(Note: Don't close this window yet. You'll be back to complete the last field.)
Create a Pub/Sub project to represent your data handler
Now that we have the information we need from Mux, let’s create your Pub/Sub project in your Google Cloud dashboard.
There are several ways you can create a project.
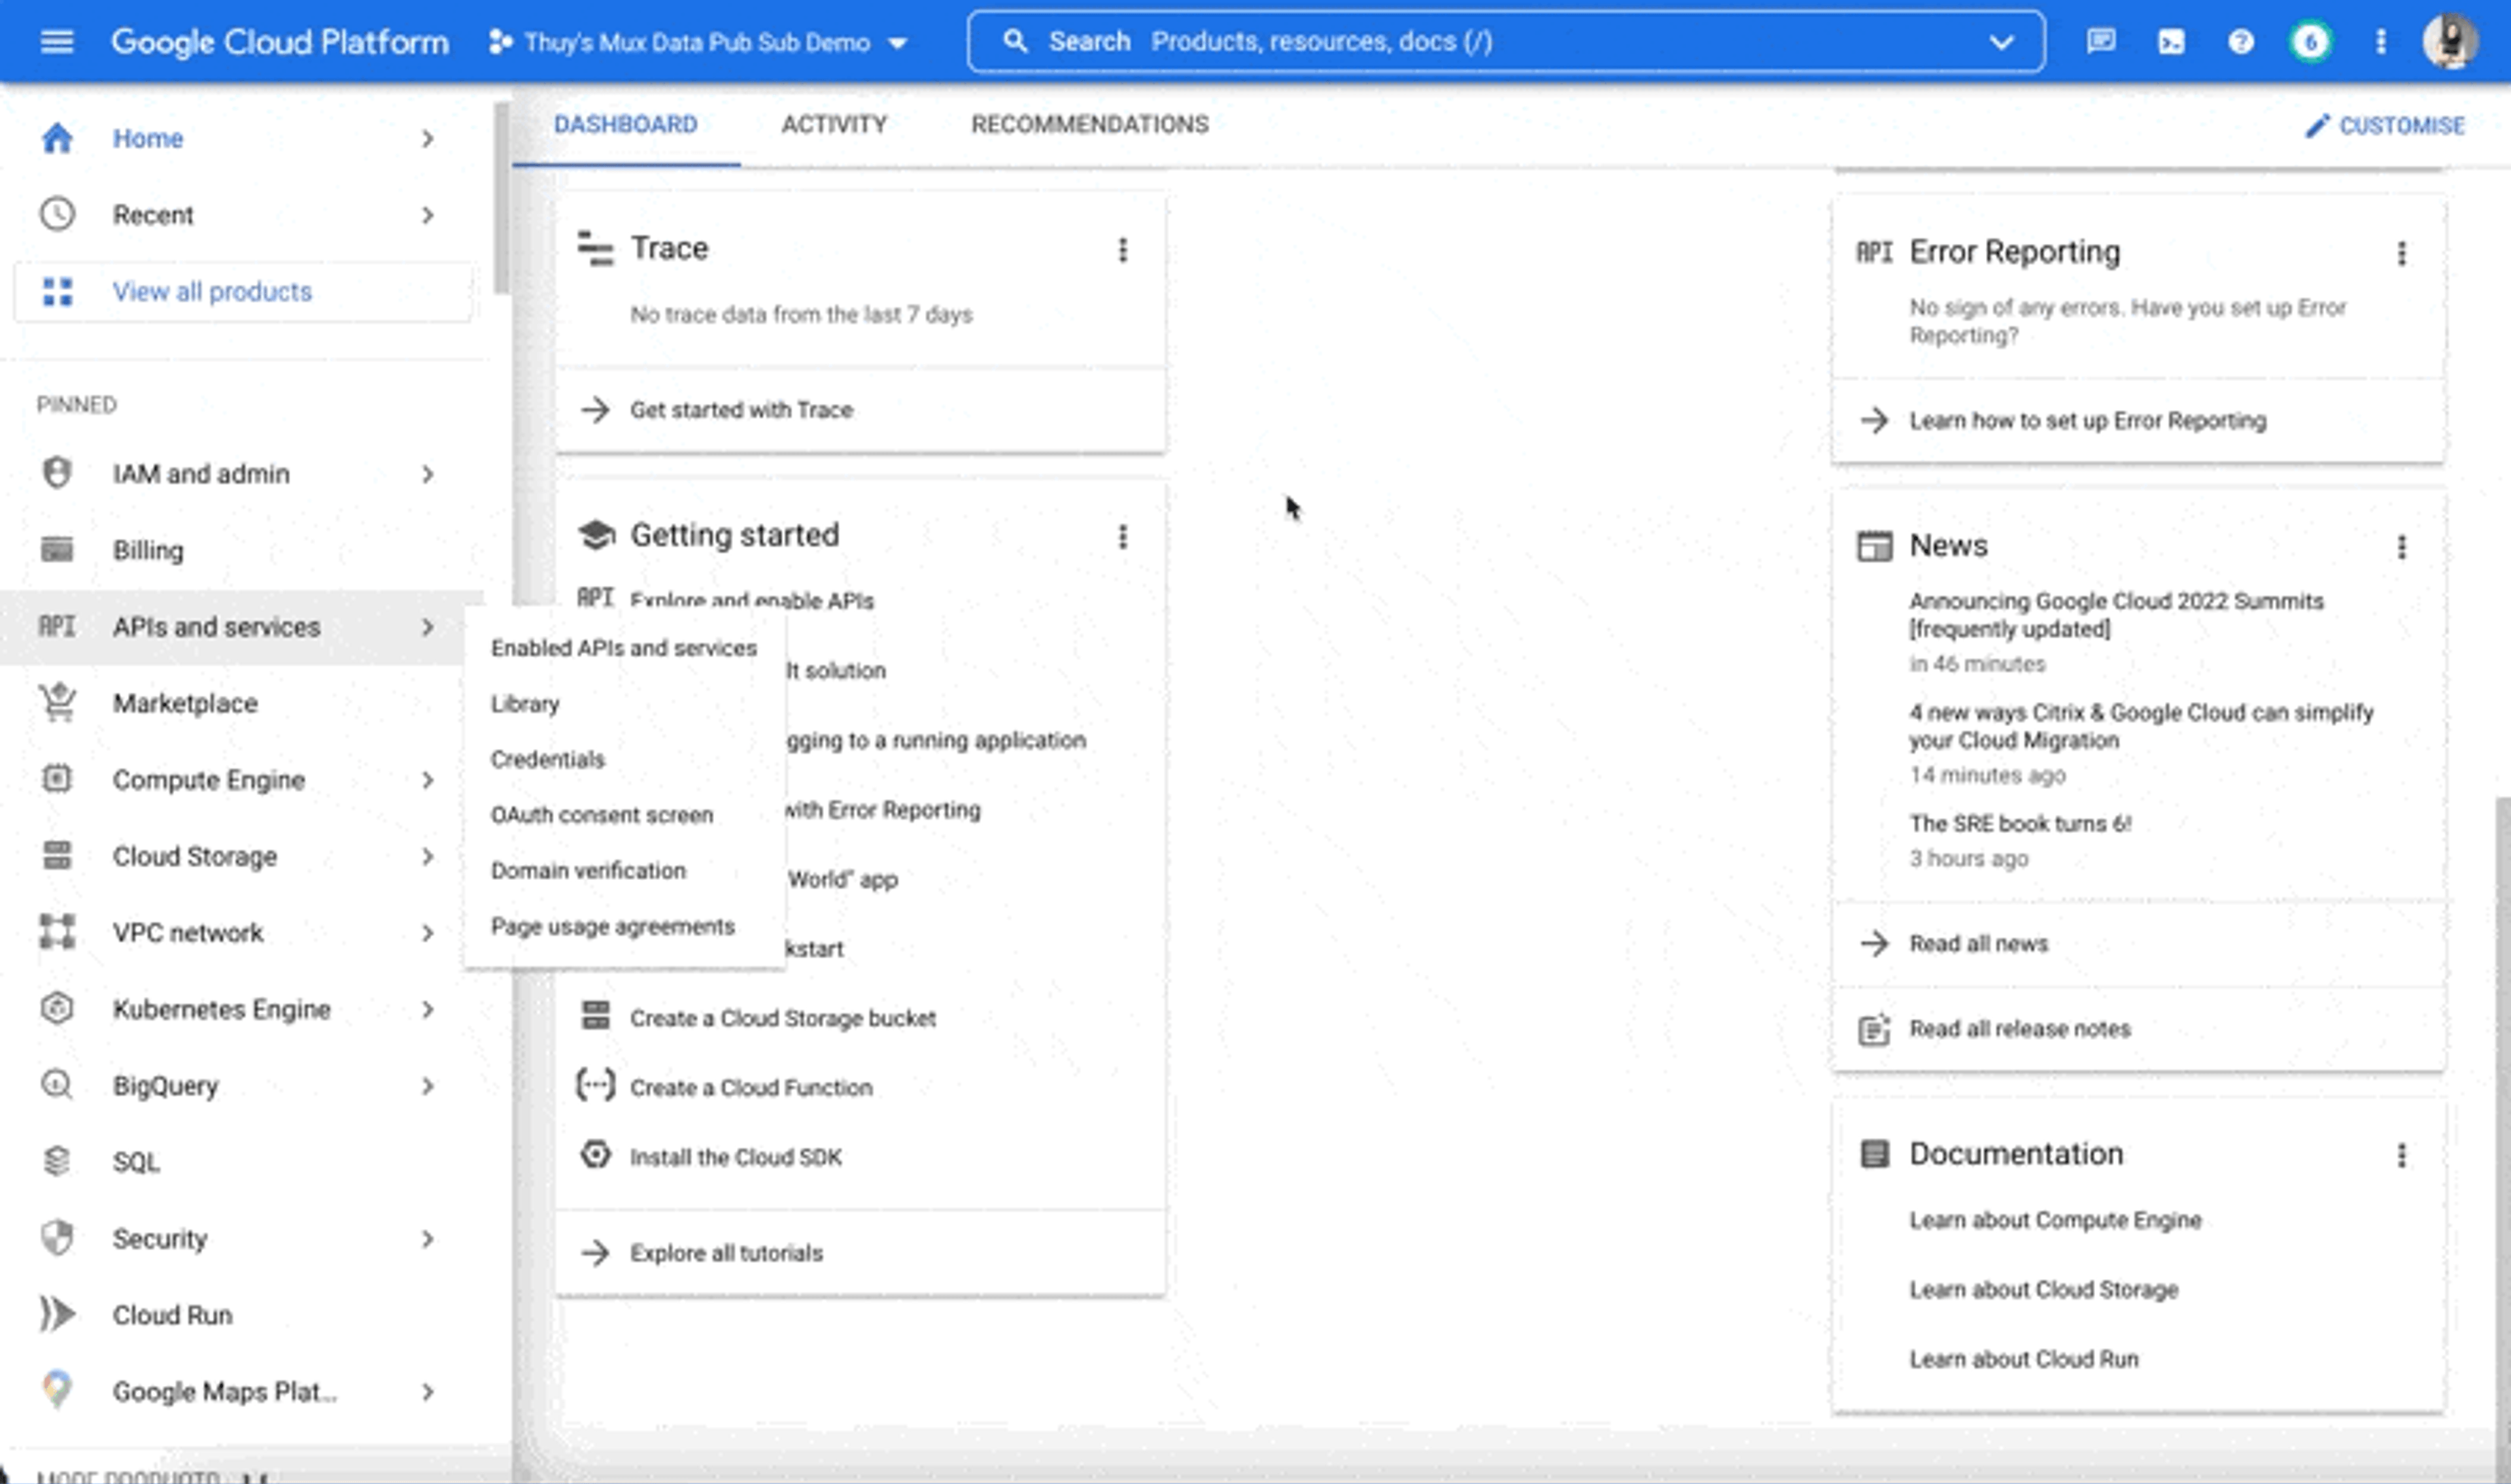
Via nav bar
From the console, navigate to the top menu. There is a drop-down selector to switch quickly between projects. Click it, and a modal will open. Inside the modal, click the top right “new project” button and enter details for the new project, including project name and organization.
Via resources page
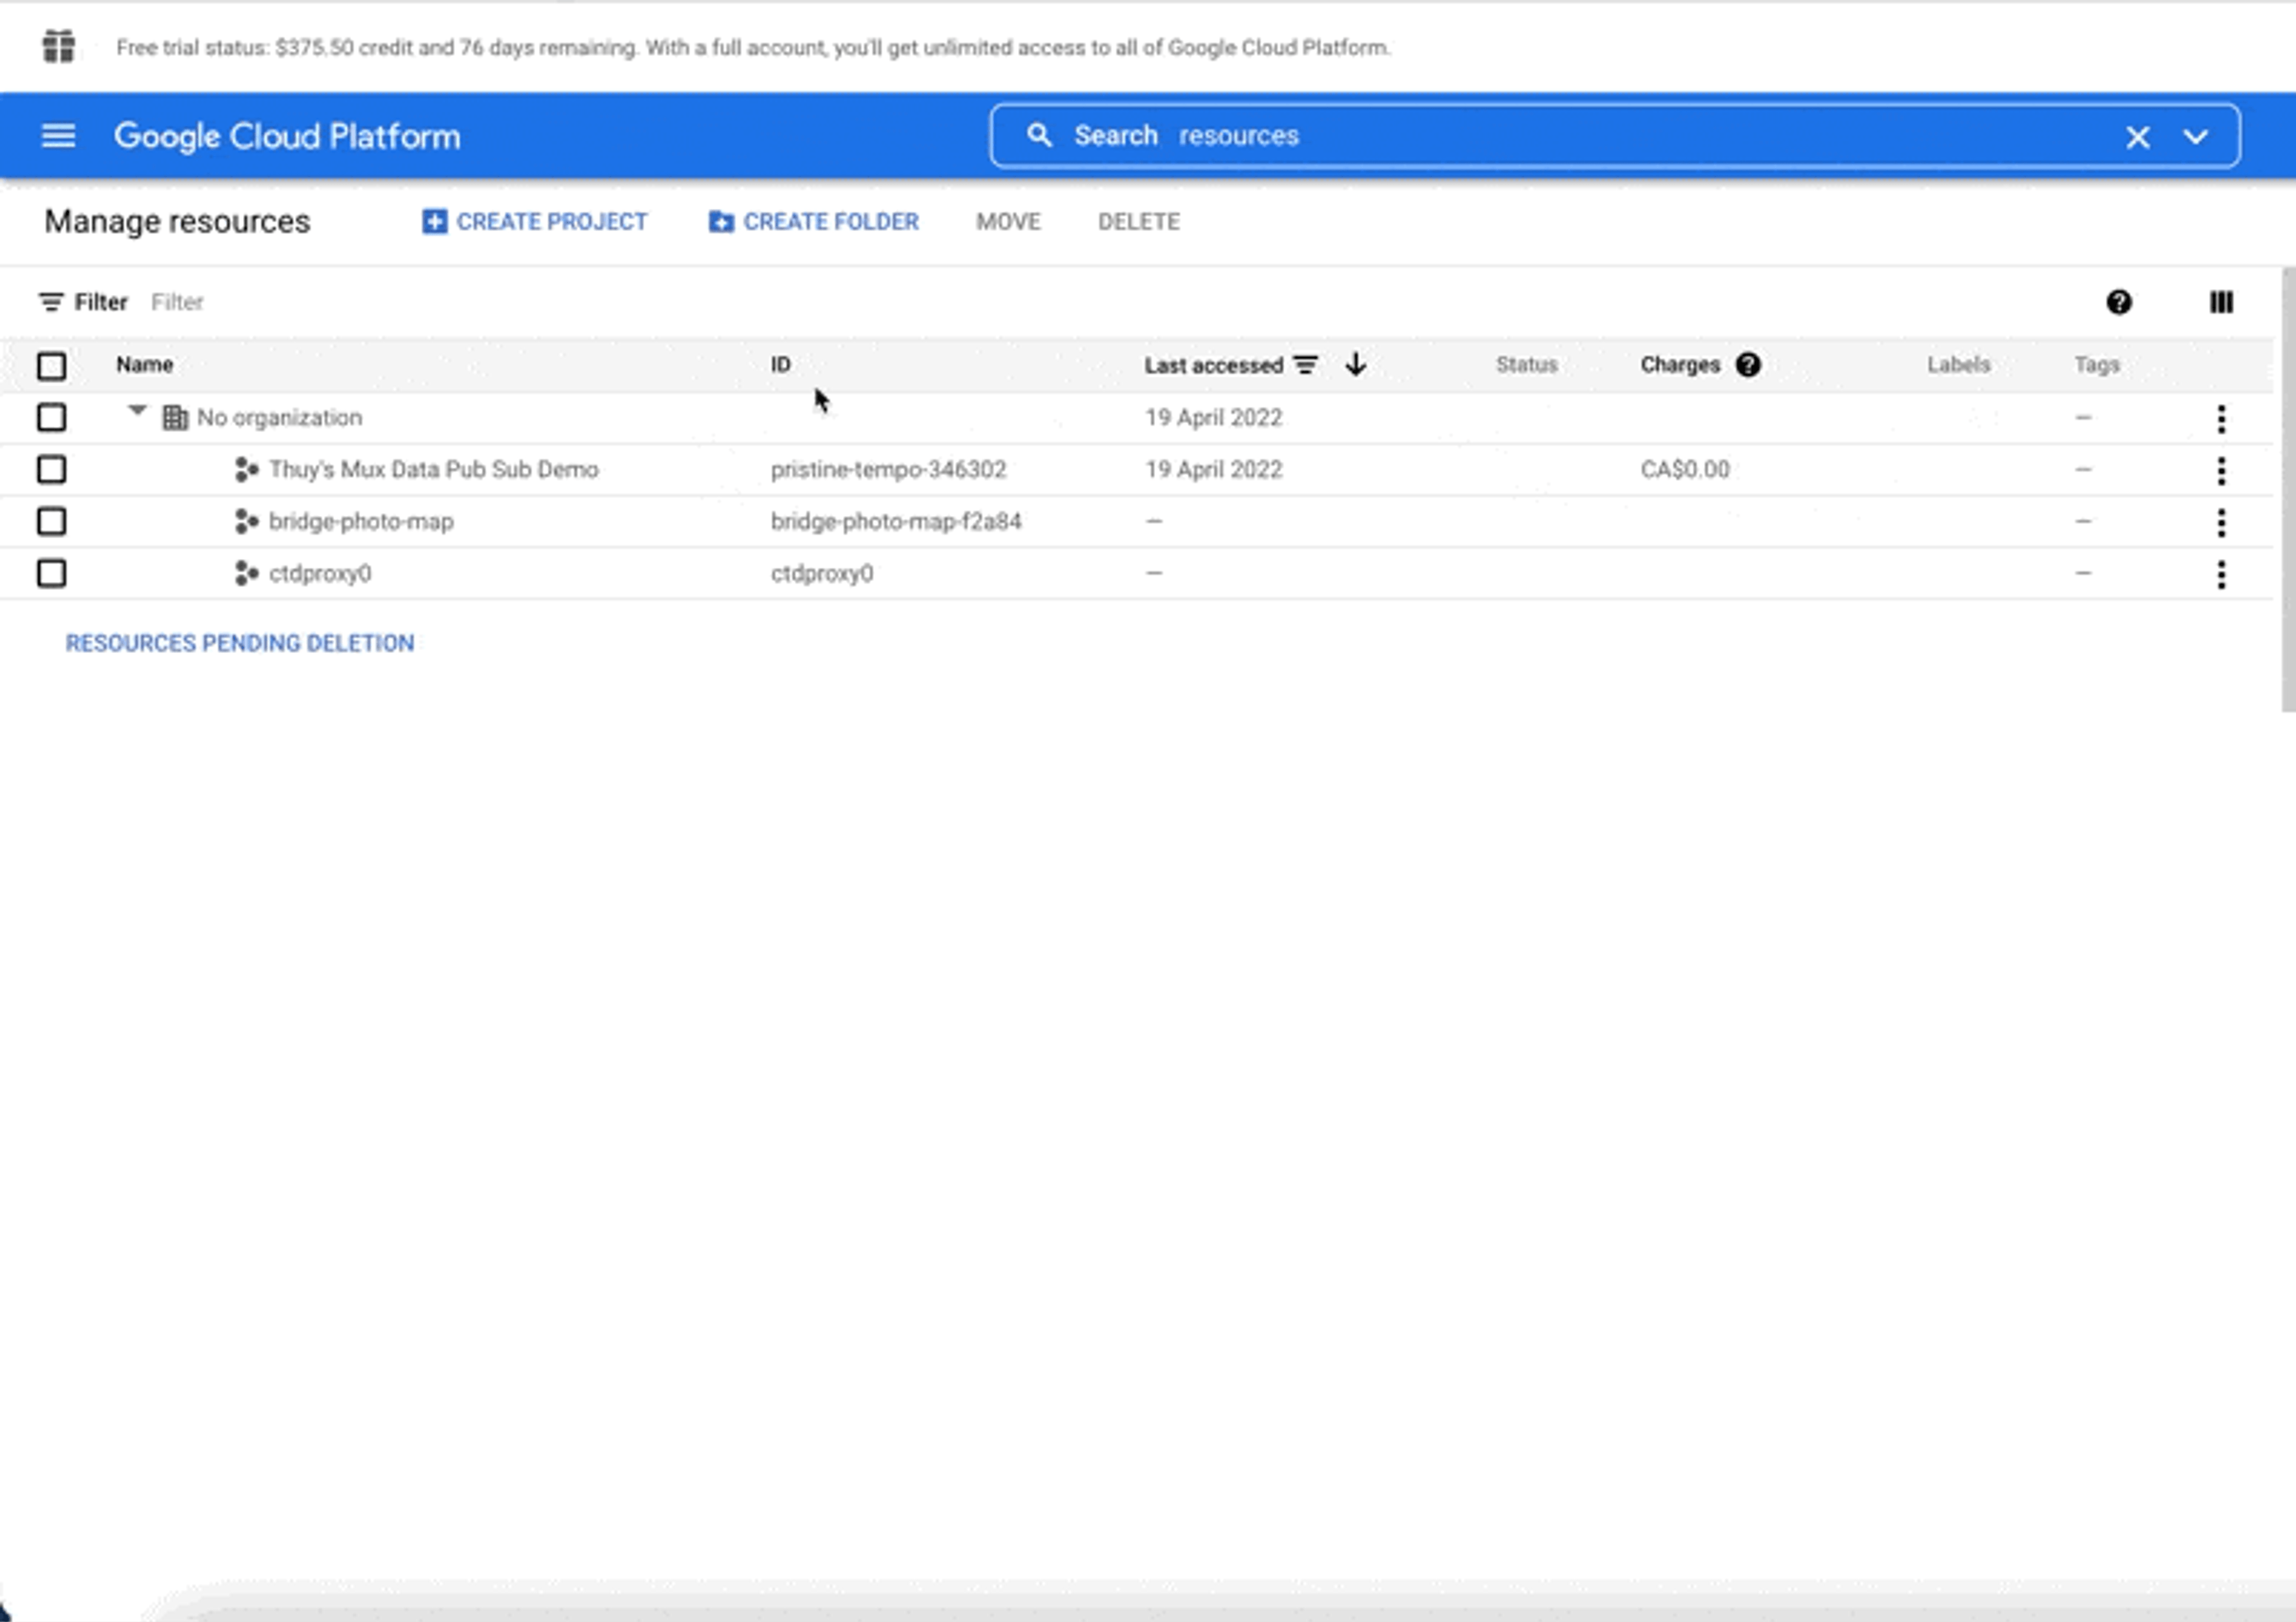
From any page inside Google Cloud, navigate to the top search bar. Search for “resources.” You will then see a list of all resources in your Google Cloud account. Click “create project.”
Via shortcut to projects creation
From any page in your Google Cloud account, navigate to the top search bar and search for “projects.” It will send you directly to the page where you input new project details.
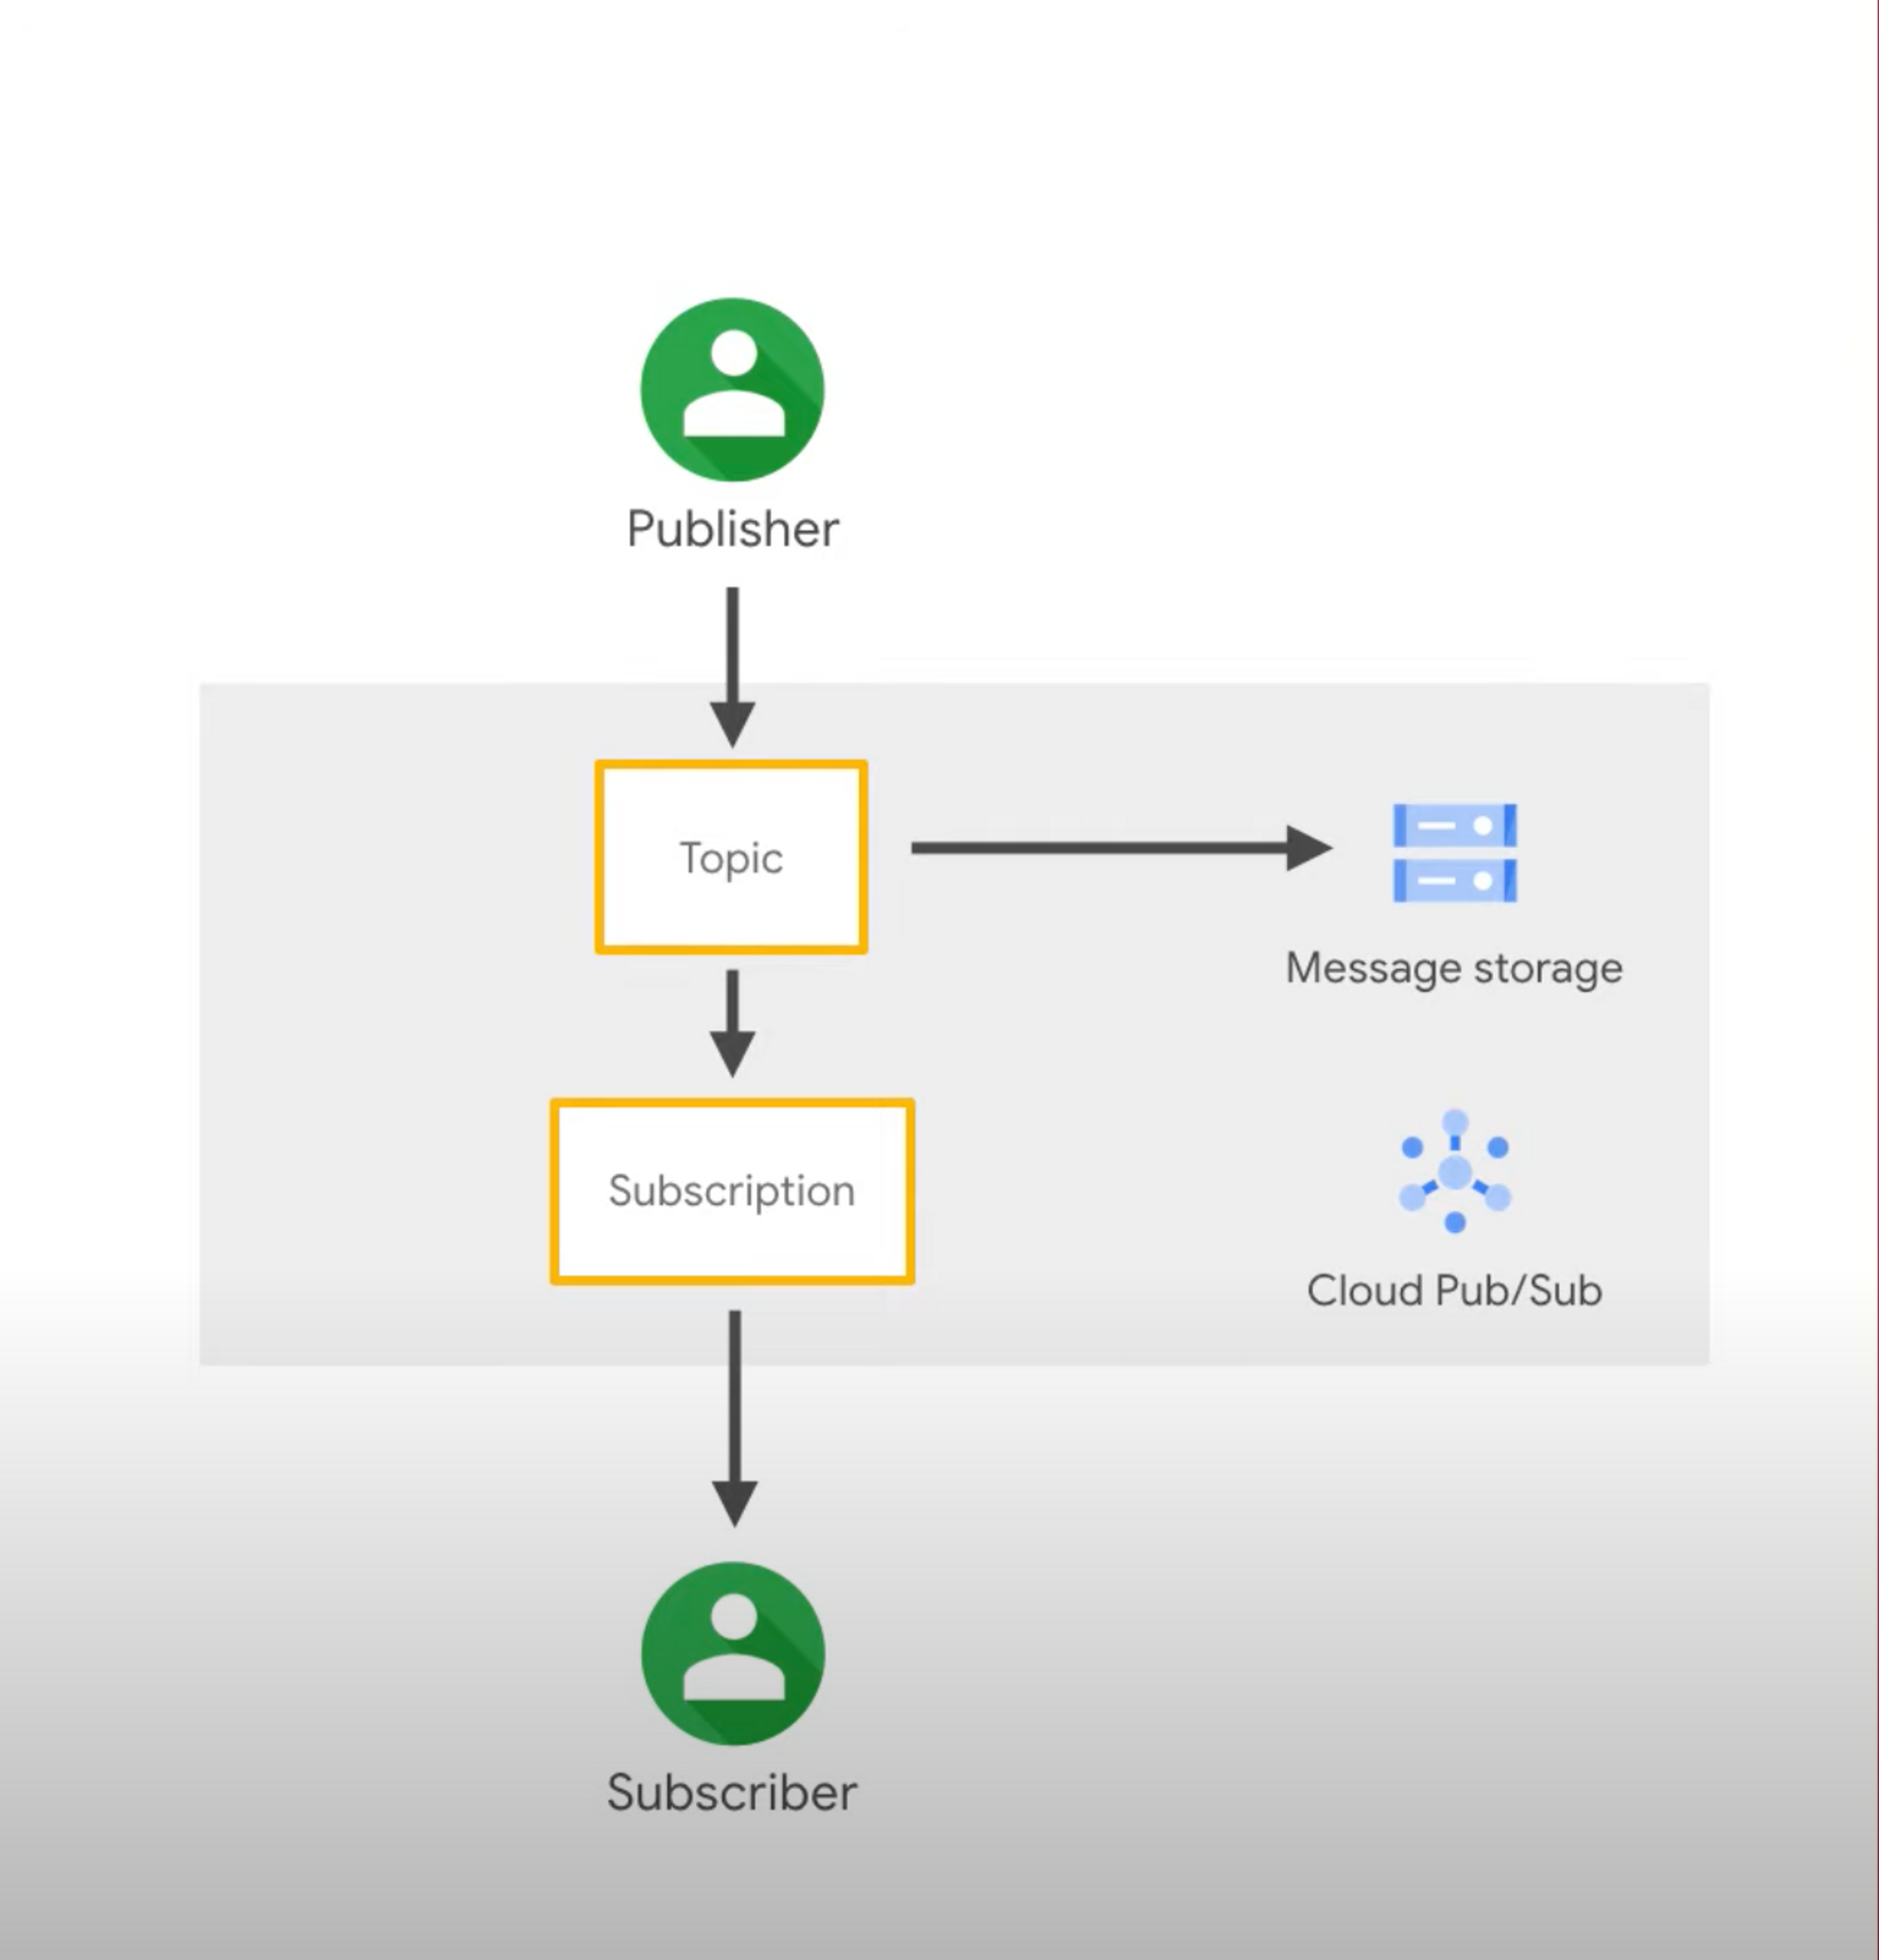
A project represents one real-time messaging system in Pub/Sub.
Entities that send data to your project are called publishers, and entities that receive data from Pub/Sub are called subscribers. In the future, your project can grow to support different communication models, such as one-to-many, many-to-one, and many-to-many.
Grant permissions to allow Mux to send data to your project
At this point, you have a Pub/Sub project waiting for publishers, like Mux, to send data to it and subscribers, like your application, to receive data from it. However, in order to make that transfer of data possible, you must grant the relevant parties permission to do what you need them to do.
For this post, we’ll focus on setting up Mux as a publisher for your project.
IAM, or Identity and Access Management System, is a framework you’ll use to grant and restrict access to resources. In this case, the resource is your Pub/Sub project.
With Pub/Sub, there are several Google-specific IAM terms worth knowing before we go further:
- Principal: An email address that represents an entity we give permissions to. These entities can be Google accounts (i.e., user@gmail.com), service accounts (i.e., company@cloud.iam.gserviceaccount.com), a Google group account, or a Google workspace account.
- Role: A collection of permissions. When you assign a role to a principal, you’re granting the principal permission to do anything that role is allowed to do.
- Policy: Binding rules on the project to enforce the roles we grant to principals.
To capture real-time view data from Mux, we must configure an IAM policy by adding Mux’s service account as a principal and granting it the role of Pub/Sub publisher.
In your Google Cloud console, search for “IAM” in the search bar. Then click the “add” button.
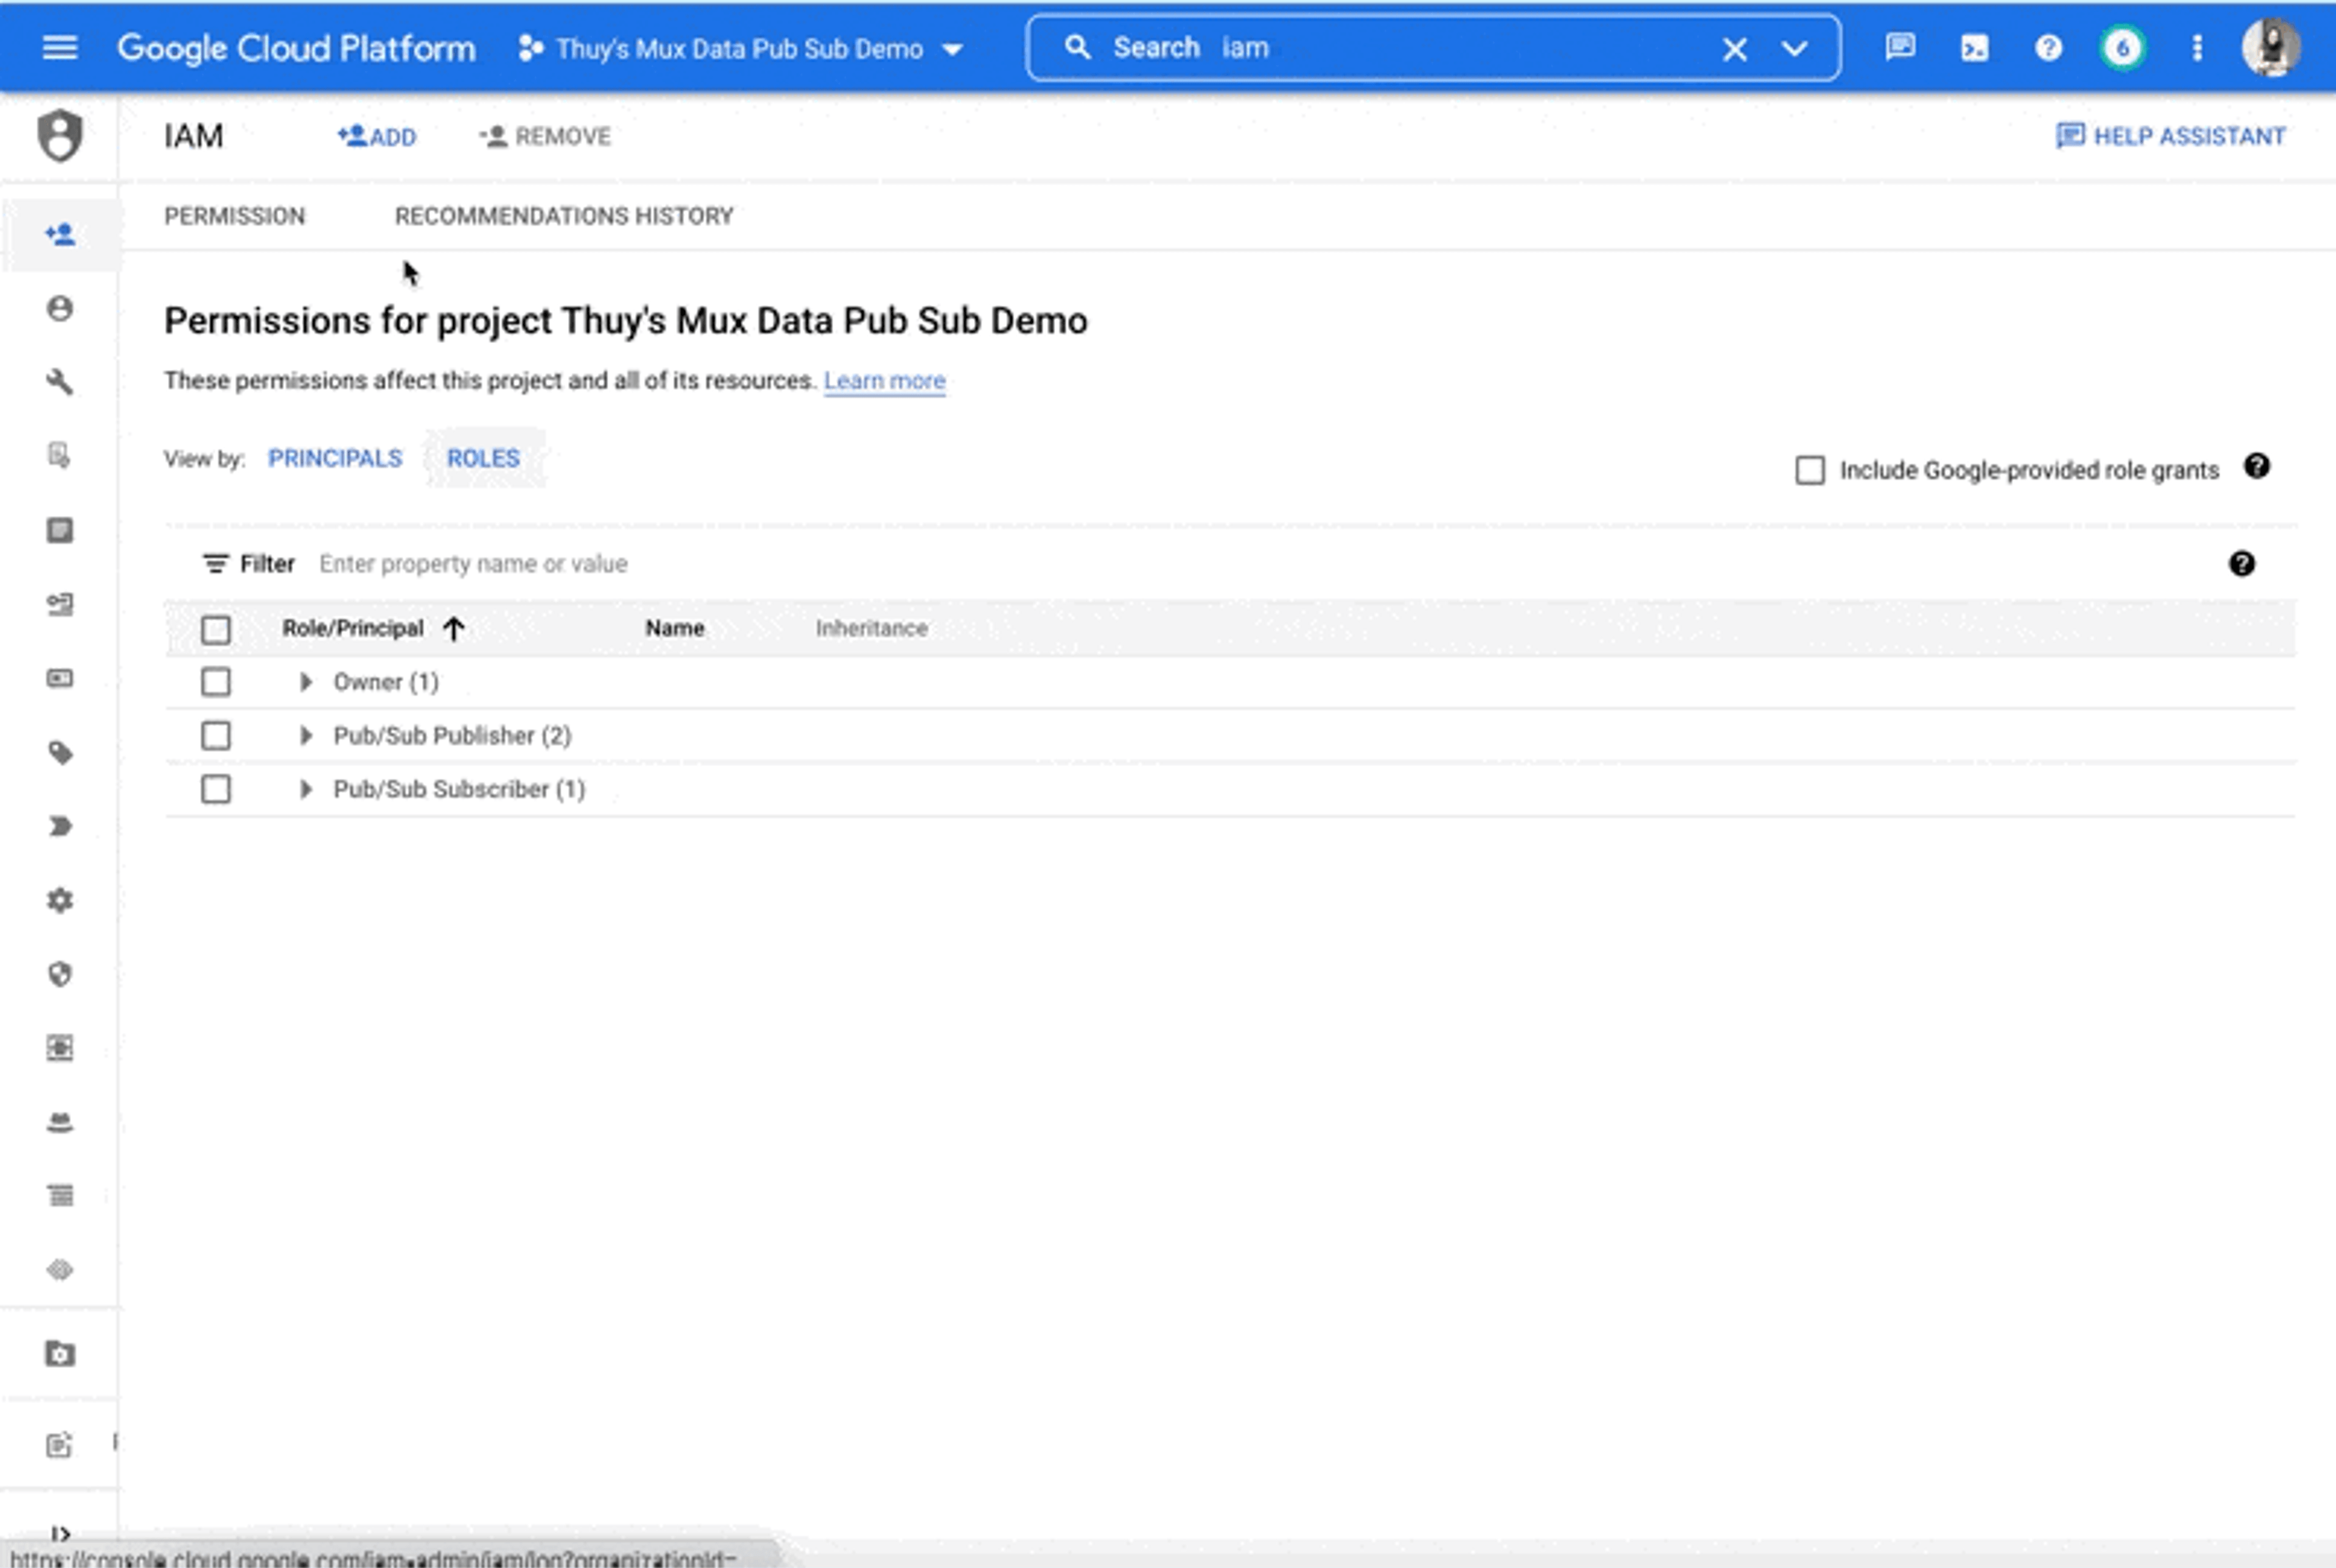
In the field for “new principals,” input Mux’s service account.
Publisher is one of the many different roles you can assign to principals in Pub/Sub. Publishers can only do one thing in Pub/Sub: publish topics. Depending on your specific system needs down the line, you may need to grant different roles and permissions. You can find Pub/Sub’s full list of roles and permissions here. For now, we only need to grant Mux publisher permissions.
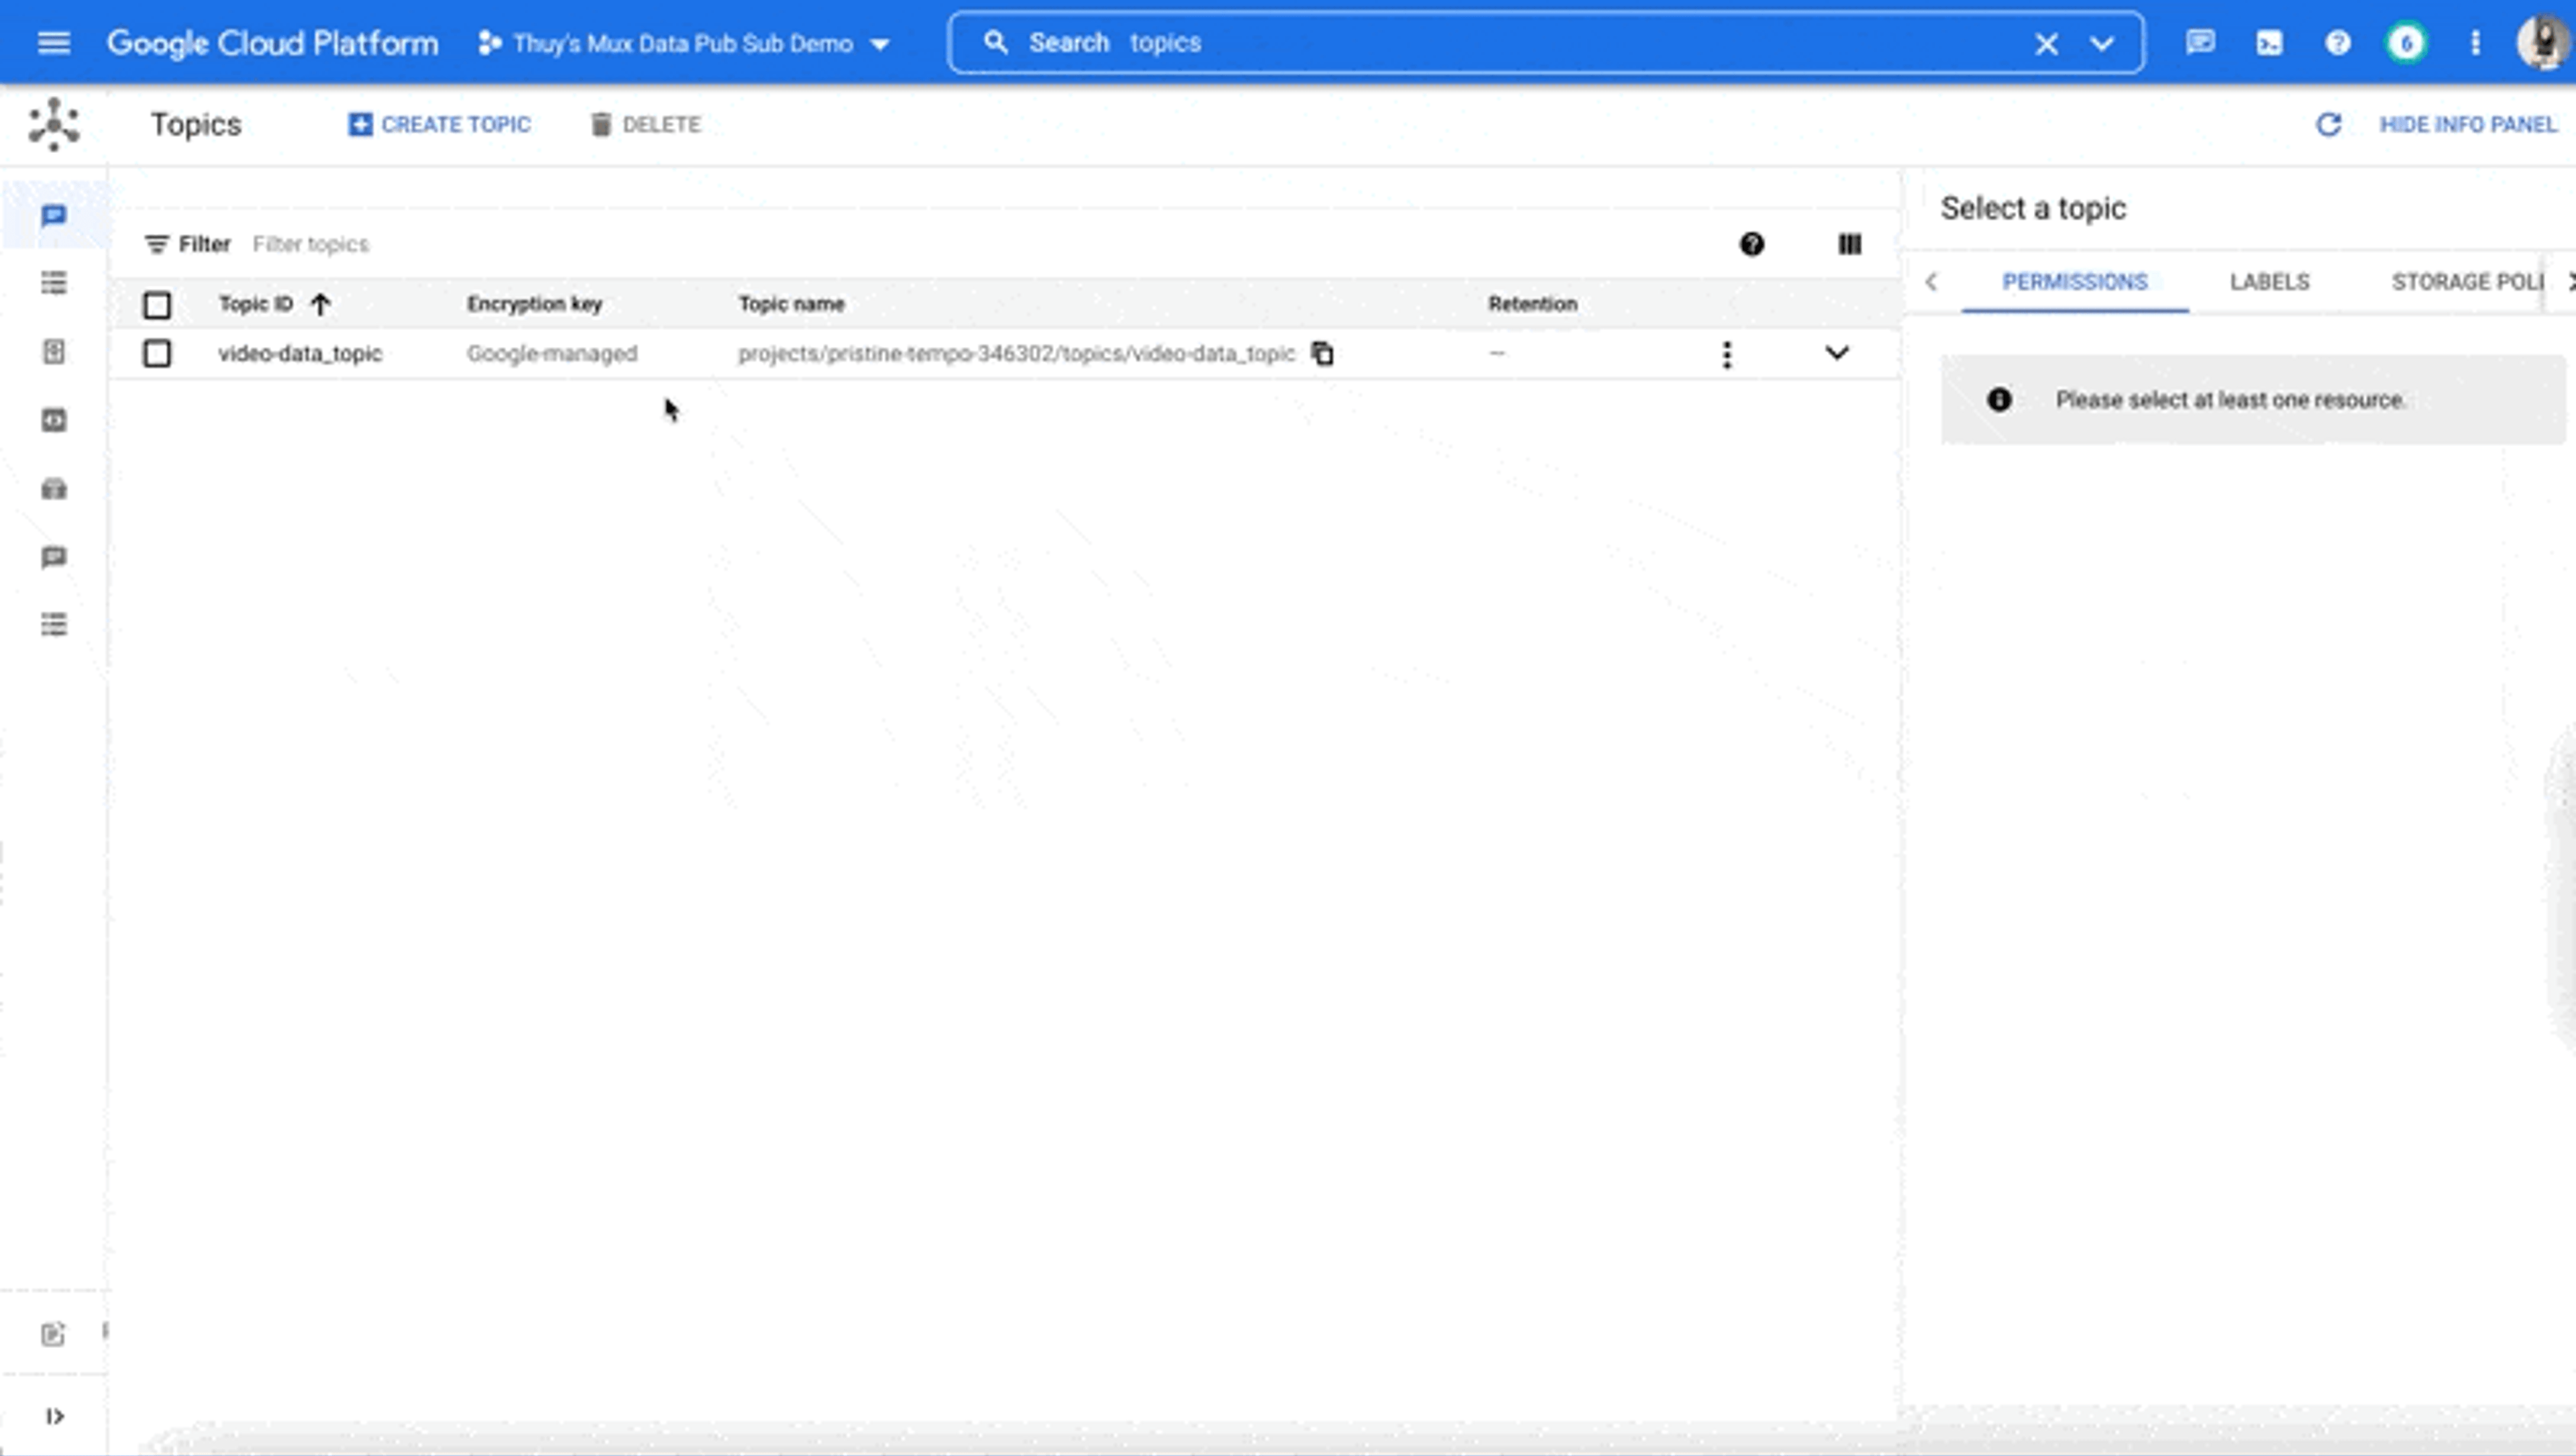
Create a topic
Topics are the entry point for publishers into your Pub/Sub project.
To create a topic, search for “topics” in the search bar, then click “create topic.”
Share your topic name with Mux
In order to complete the connection between your Pub/Sub project and Mux Data, you have to provide Mux with the topic name so that Mux knows which topic it needs to push data to.

You can find the topic name in the topics panel under the column named “Topic name.”
Back in the Mux dashboard, on the Streaming Exports page you left open, enter your Pub/Sub topic name. Click on the "Enable export" button to finish up the process.
What to expect with messages
Mux sends messages about real-time view data formatted using Protobuf (proto2) and JSON encoding.
We have a guide to help you understand this formatting in our docs.
Moving forward
Voila! ✨You can now capture real-time view data from Mux Data in your Google Pub/Sub project. Now that Pub/Sub is set up, it's possible to take the next step and create a data reporting strategy that leverages BigQuery as well. From here, you can use the data you capture to make important decisions faster. However, if you ever need any help, Mux has partnered with Google Pub/Sub to make this integration smoother for you. Contact us if you ever need a hand. ✋🏻
Or tweet at me on Twitter @clearythuydoan if you want to chat Pub/Sub setup. 🙋🏻♀️