We’re thrilled to announce that getting your videos into Mux just got a little easier. 🙂 Starting today, you can now push content directly to Mux. 🎉
Up until now, if you wanted to create a new Mux asset, you needed to have that file stored online somewhere first. For a lot of developers, this meant having to build an extra step into their workflow that they didn't otherwise need. We don't like unnecessary extra steps and we suspect you don't either.
The workflow for using a Direct Upload is simple:
- Your application creates a new Direct Upload and returns the authenticated URL to your client software.
- The client software uses that authenticated URL to upload content via PUT requests.
When is this useful?
Direct Uploads can simplify the workflow just about any time you want to get a piece of content directly from a piece of client software, but it can also be useful on servers or even via your own machine.
We think they especially shine in situations like:
- Mobile Apps - Someone can take a video and push that content directly to your Mux account.
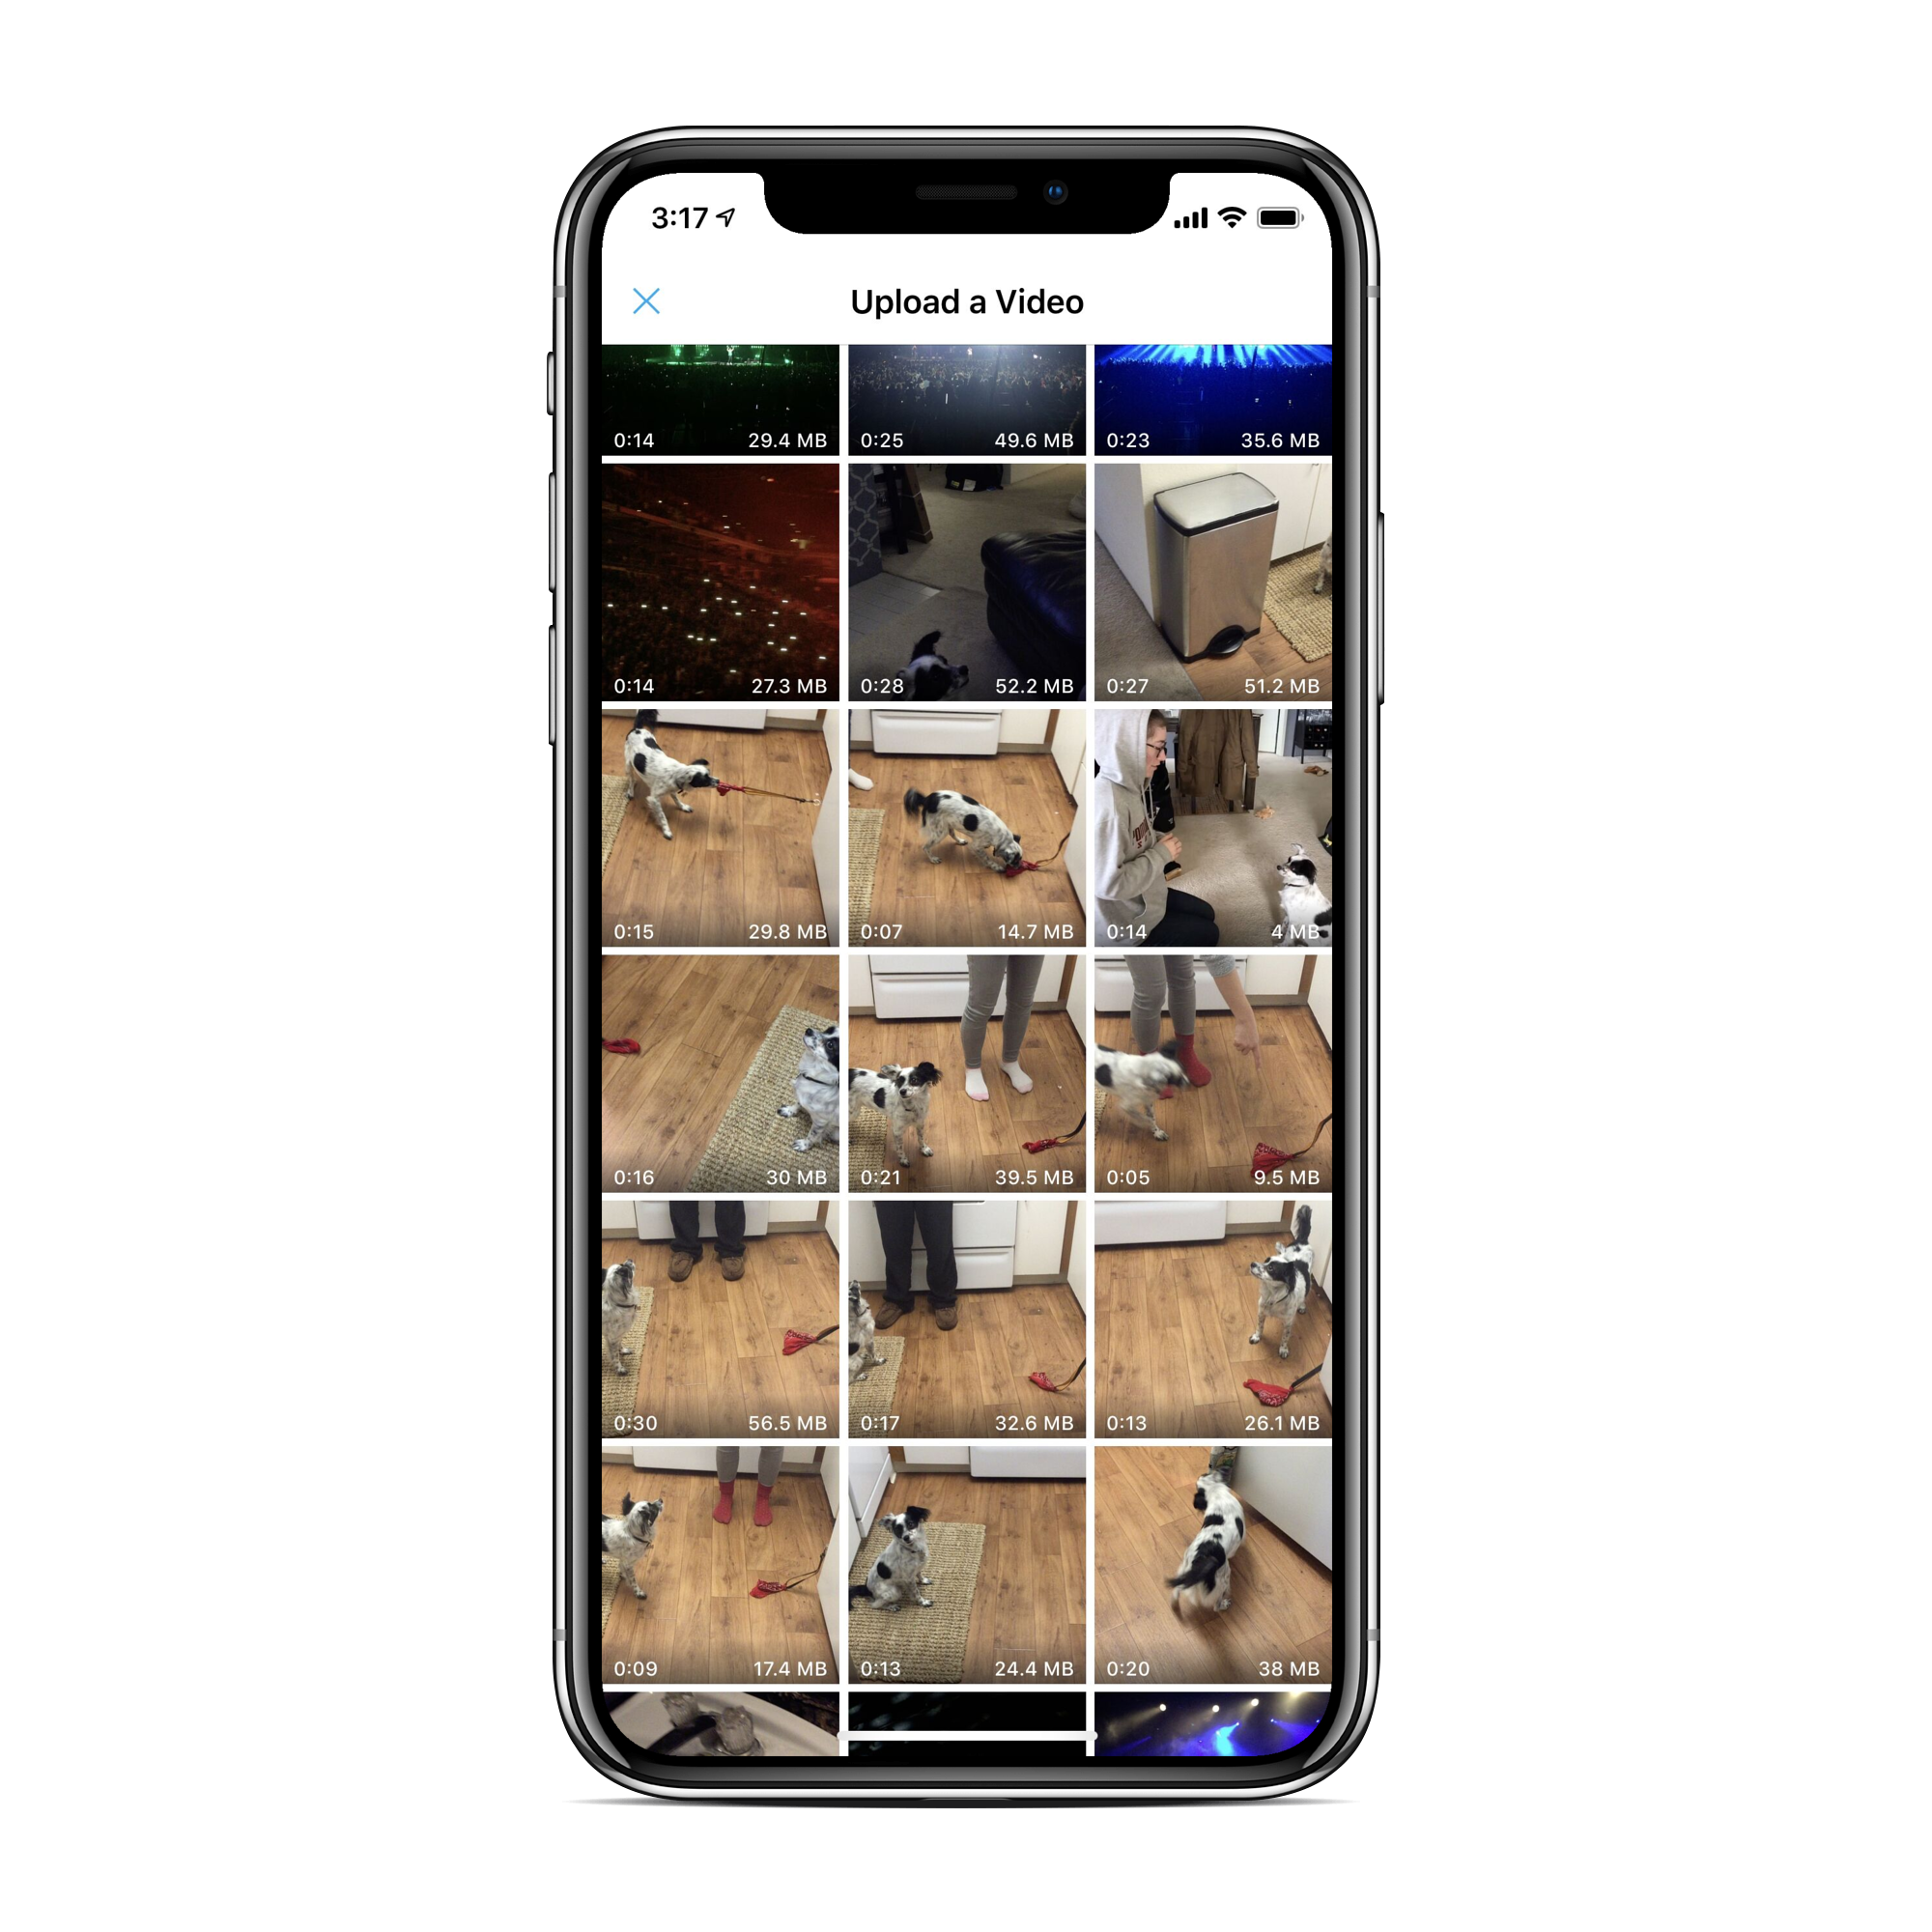
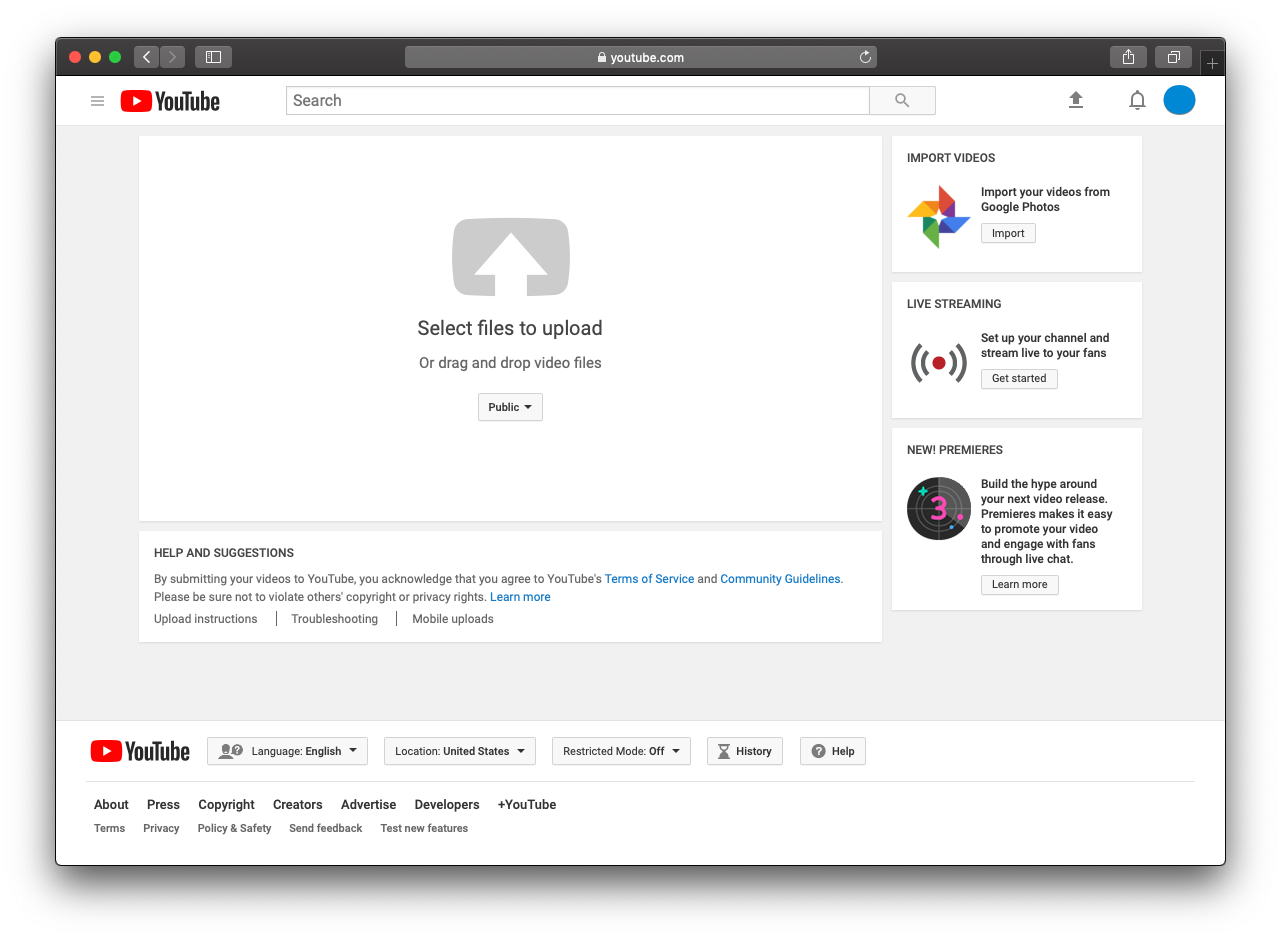
- Browsers - People can drag and drop files directly into your content management system.
- Batch Upload - Simplify the process of letting customers upload large batches of files directly from your desktop app.
- Command Line Interfaces - Sure, why not! Push content directly from your terminal!
We won't go so far as to say the possibilities are endless, but you certainly have options. Any time you don’t need to keep the original file in your storage before creating a Mux Asset, Direct Uploads are for you.
What does this look like in my application?
Let's say you want to upload a file directly from a desktop application. First you'll want to create a route in your application that creates a new direct upload:
// This example might be something you'd deploy to a
// serverless platform like Zeit, Netlify, or AWS Lambda.
const { json, send } = require('micro');
const Mux = require('mux');
const { Video } = new Mux();

module.exports = async (req, res) => {
  // You'll probably want to make sure the requester
  // is supposed to be making videos in your system here.
  const { assetMetadata } = await json(req);

  // This is our Node SDK, and ultimately just makes a
  // POST request to https://api.mux.com/video/v1/uploads
  const upload = await Video.Uploads.create({
    cors_origin: 'https://your-browser-app.com',
    new_asset_settings: { playback_policy: 'public' },
  };

  // You'll probably want to save details about this
  // in your database first, but then just return at
  // least the `url` from the created upload to the client.
  return send(res, 201, { url: upload.url });
};
Now we've got a route that we can use to make sure only our customers can upload new videos in our application. Now let's see what the browser side of things looks like:
document.getElementById('file-input').onchange = (e) => {
  const file = e.target.files[0];
  fetch('/your-upload-endpoint').then(url => (
    fetch(url, { method: 'PUT', body: file });
  ));
};
Voila! If you want to make sure your browser clients can reliably upload large files and pause/resume them, we built a tool to help!
Have fun!
For more technical details, check out the guide and, of course, let us know if you have any questions. If you don't have questions, still reach out because we'd love to hear about what you're building. ✌️