Monitor LG
This guide walks through integration with LG Smart TVs to collect video performance metrics with Mux data.
In this guide:
Features
The following data can be collected by the Mux Data SDK when you use the LG SDK, as described below.
Supported Features:
- Engagement metrics
- Quality of Experience Metrics
1Integration overview
LG Smart TV applications are built on top of the HTML5 video technology. To support video streaming, these applications can be integrated with player SDKs such as the HLS.js and Dash.js.
Due to the HTML5 nature of LG Smart TV applications, the Mux Data integration with LG televisions uses one of the HTML5 integrations, such as the ones listed above. When setting up your application, you should check which video player engine that is used, and depending on that, utilize the appropriate integration point within mux-embed.
Check these 3 web integration guides for more details:
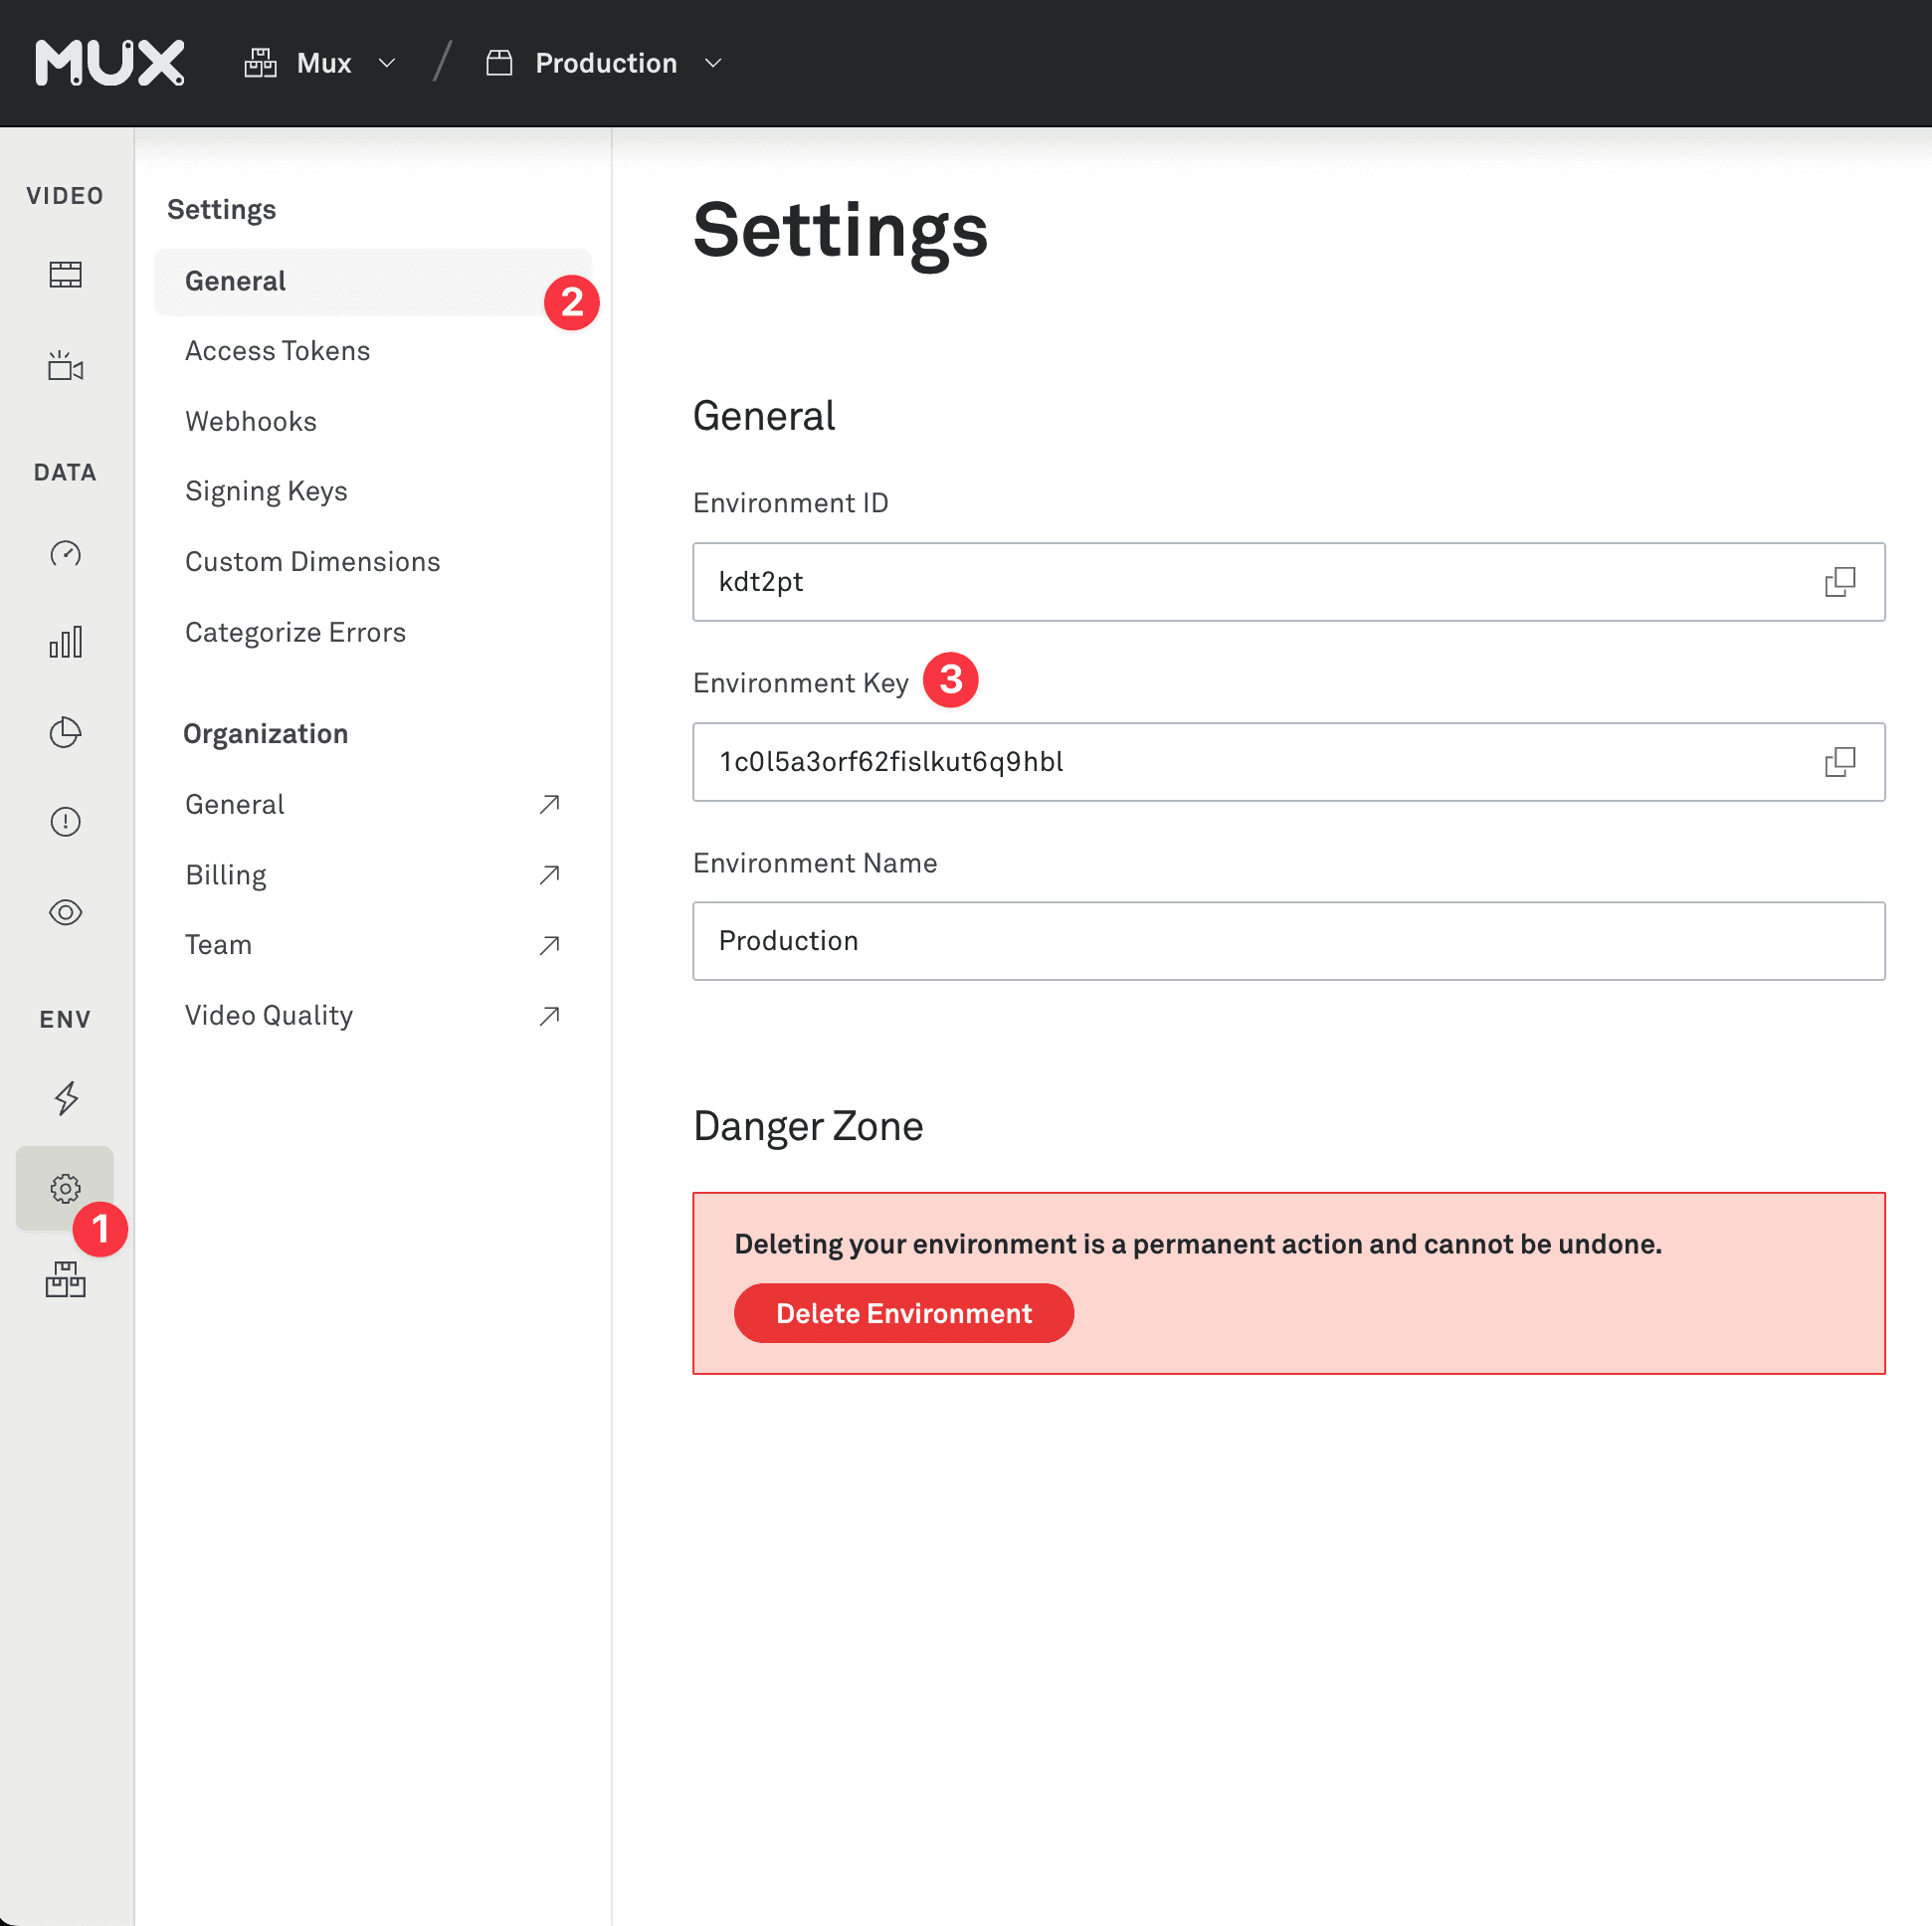
Get your ENV_KEY from the Mux environments dashboard.
Env Key is different than your API token
ENV_KEY is a client-side key used for Mux Data monitoring. These are not to be confused with API tokens which are created in the admin settings dashboard and meant to access the Mux API from a trusted server.

// main.js
play: function() {
  var data = {
    env_key: 'ENV_KEY', // required
    player_name: 'My Custom Player',
    player_init_time: mux.utils.now(),
    // ... additional metadata
  };

  switch (this.playerEngine) {
    case this.PLAYENGINE_HLSJS:
      if (Hls.isSupported()) {
        const hls = new Hls();
        hls.loadSource('<your source file>');
        hls.attachMedia(this.player);
        hls.on(Hls.Events.MANIFEST_PARSED,function(e,d) {
          app.player.play();
        });
        mux.monitor('#my-player', {
          debug: true,
          hlsjs: hls,
          Hls: Hls,
          data: data
        });
        this.hls = hls;
      }
      break;
    case this.PLAYENGINE_DASHJS:
      const dashjsPlayer = dashjs.MediaPlayer().create();
      dashjsPlayer.getDebug().setLogToBrowserConsole(false);
      mux.monitor('#my-player', {
        debug: true,
        dashjs: dashjsPlayer,
        data: data
      });
      dashjsPlayer.initialize(this.player, 'http://dash.edgesuite.net/envivio/EnvivioDash3/manifest.mpd', true);
      this.dashjsPlayer = dashjsPlayer;
      break;
  }
}
After you've finished integration, the quickest way to see that the SDK is loaded is to pass debug: true in the options passed to the SDK. With this flag enabled, you can open the debug console, and you should start seeing debug statements from [mux] when you click play on the video.
After playing a video, a few minutes after you stop watching, you'll see the results in your Mux account. We'll also email you when your first video view has been recorded. Log in to the dashboard and find the environment that corresponds to your env_key and look for video views.
Note that it may take a few minutes for views to show up in the Mux Data dashboard.
2Make your data actionable
Options are provided via the data object passed in the call to mux.monitor.
All metadata details except for env_key are optional, however you'll be able to compare and see more interesting results as you include more details. This gives you more metrics and metadata about video streaming, and allows you to search and filter on important fields like the player version, CDN, and video title.
mux.monitor('#my-player', {
  debug: false,
  hlsjs: hls,
  Hls,
  data: {
    env_key: 'ENV_KEY', // required
    // Site Metadata
    viewer_user_id: '', // ex: '12345'
    experiment_name: '', // ex: 'player_test_A'
    sub_property_id: '', // ex: 'cus-1'
    // Player Metadata
    player_name: '', // ex: 'My Main Player'
    player_version: '', // ex: '1.0.0'
    player_init_time: '', // ex: 1451606400000
    // Video Metadata
    video_id: '', // ex: 'abcd123'
    video_title: '', // ex: 'My Great Video'
    video_series: '', // ex: 'Weekly Great Videos'
    video_duration: '', // in milliseconds, ex: 120000
    video_stream_type: '', // 'live' or 'on-demand'
    video_cdn: '' // ex: 'Fastly', 'Akamai'
  }
});
For more information, see the Metadata Guide.
3Advanced options
Customize beacon collection domain
If you have integrated a custom domain for Data collection, specify your custom domain by setting beaconCollectionDomain.
mux.monitor('#my-player', {
  debug: false,
  beaconCollectionDomain: 'CUSTOM_DOMAIN', // ex: 'foo.bar.com'
  hlsjs: hls,
  Hls,
  data: {
    env_key: 'ENV_KEY', // required
    // ... additional metadata
  }
});